MANUAL | QUICK START GUIDE
FRAME 4000D SERIES COLD AIR INTAKE KIT
FRAME SERIES ACCESSORY
BEFORE YOU START
IMPORTANT: Handle glass with care. This product is made with tempered glass. Avoid storage on or contact with hard surfaces like ceramic/porcelain tile, stone, masonry, or concrete. CORSAIR recommends removing all tempered glass side panels before placing the case or building on a hard surface. If necessary to place your finished build on a hard surface, it is recommended to elevate or isolate your case from the surface to avoid accidental contact, potential damage, or injury.
Replacement panels are available at corsair.com. Contact help.corsair.com for any assistance.
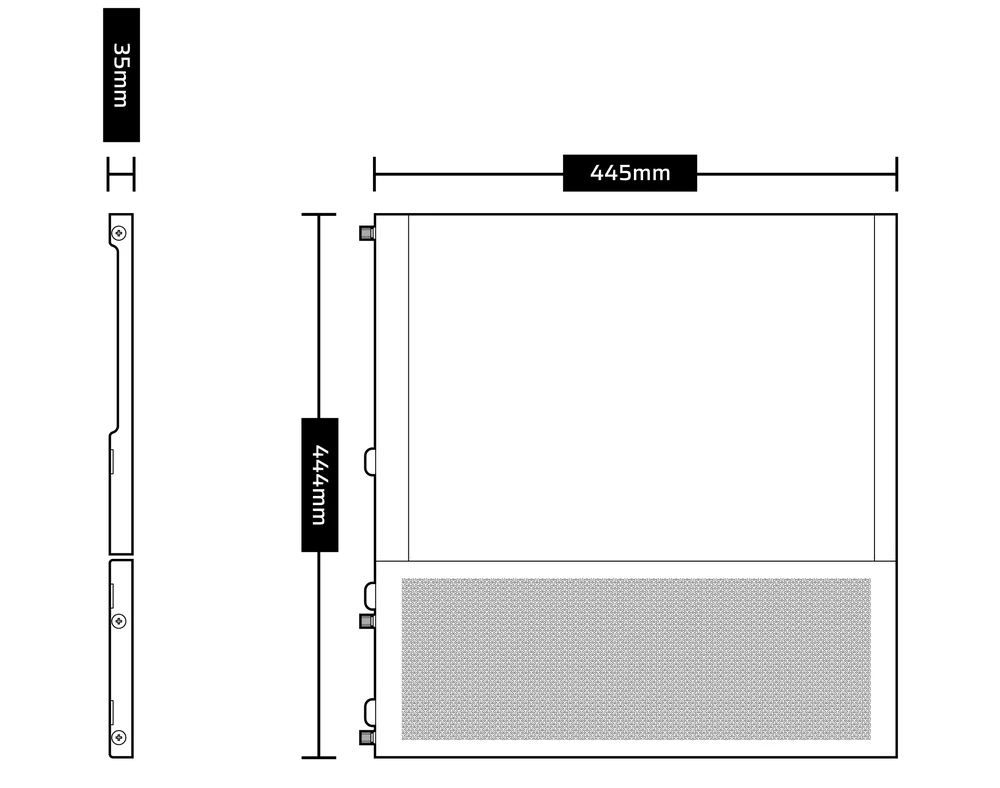
DIMENSIONS
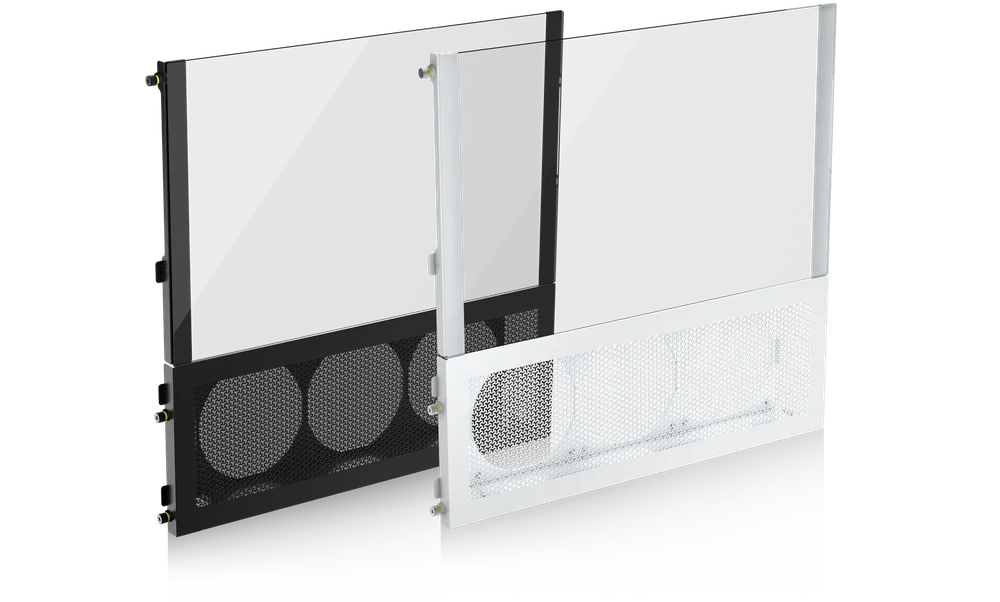
KIT CONTENTS
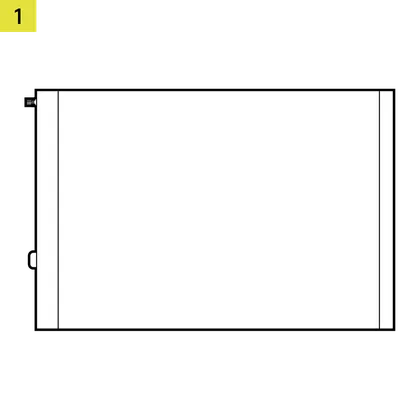
1x Upper Glass Side Panel
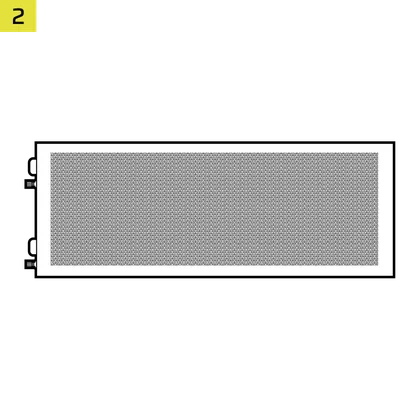
1x Side Fan Mounting Bracket
12x QuikTurn® Screws
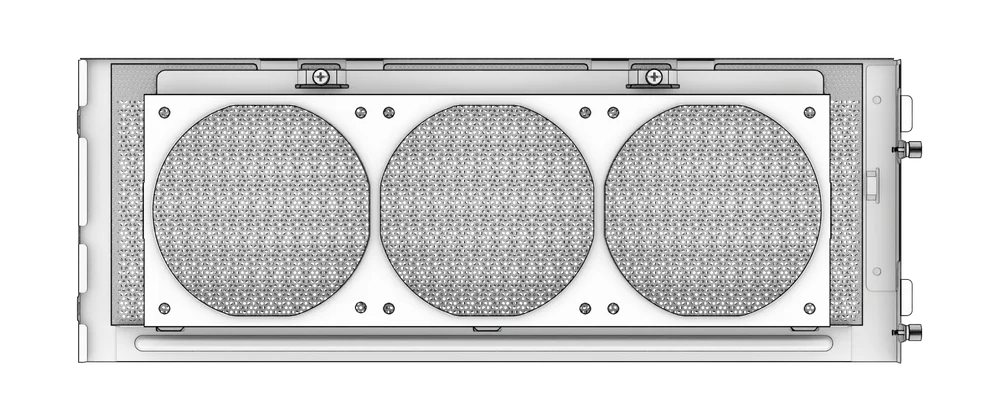
EXPANDED VIEW
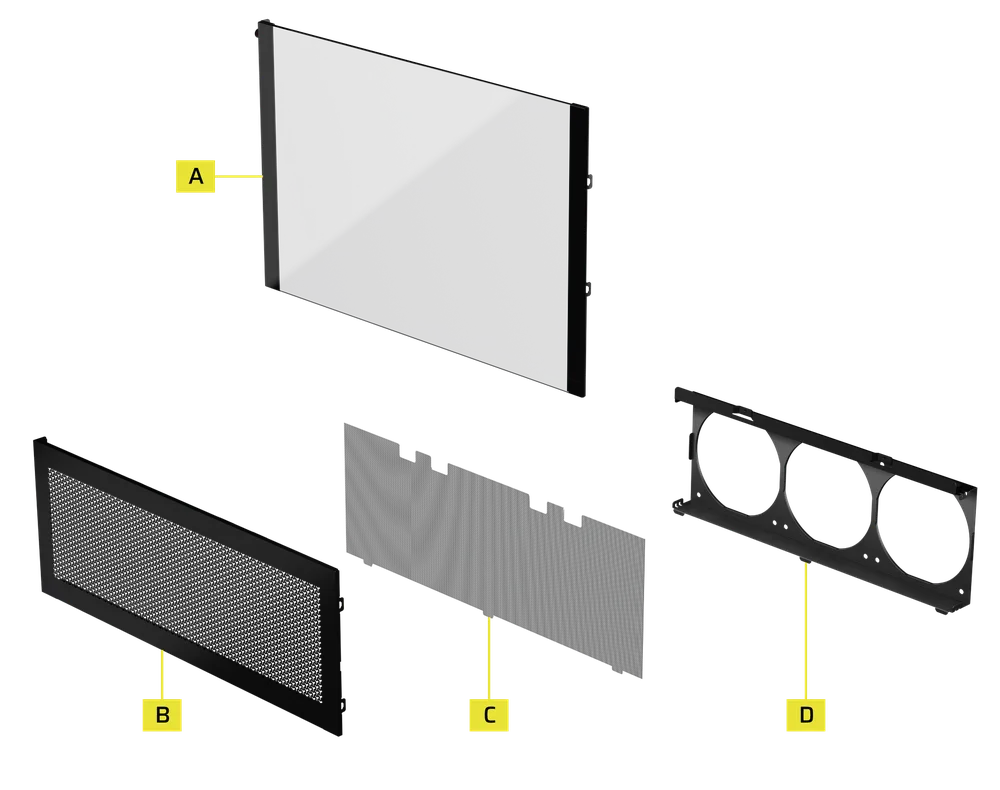
| A. Two-thirds Upper Glass Side Panel | C. Fan Filter |
| B. Mesh Side Plate | D. Fan Mounting Bracket |
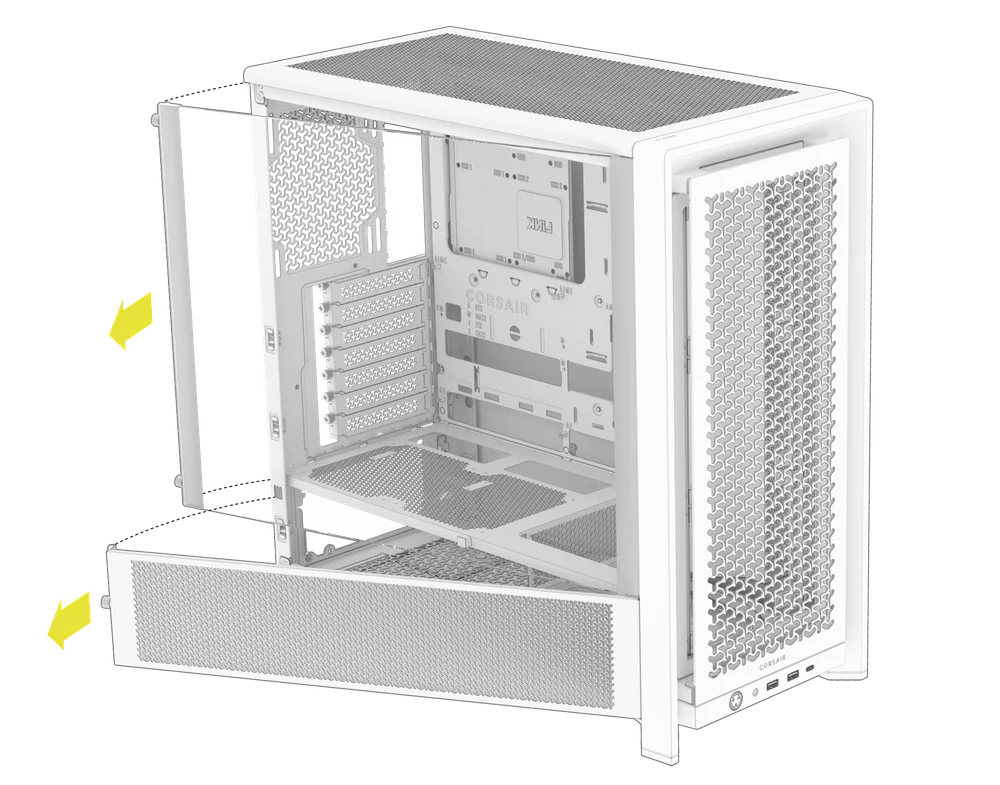
PREPARE YOUR FRAME 4000D
- Unscrew and remove the top three-quarter side glass panel and the lower quarter mesh side panel.
- Unplug and remove your GPU.
- Remove the GPU Anti-sag Stabilization Arm mini mount if one is installed.
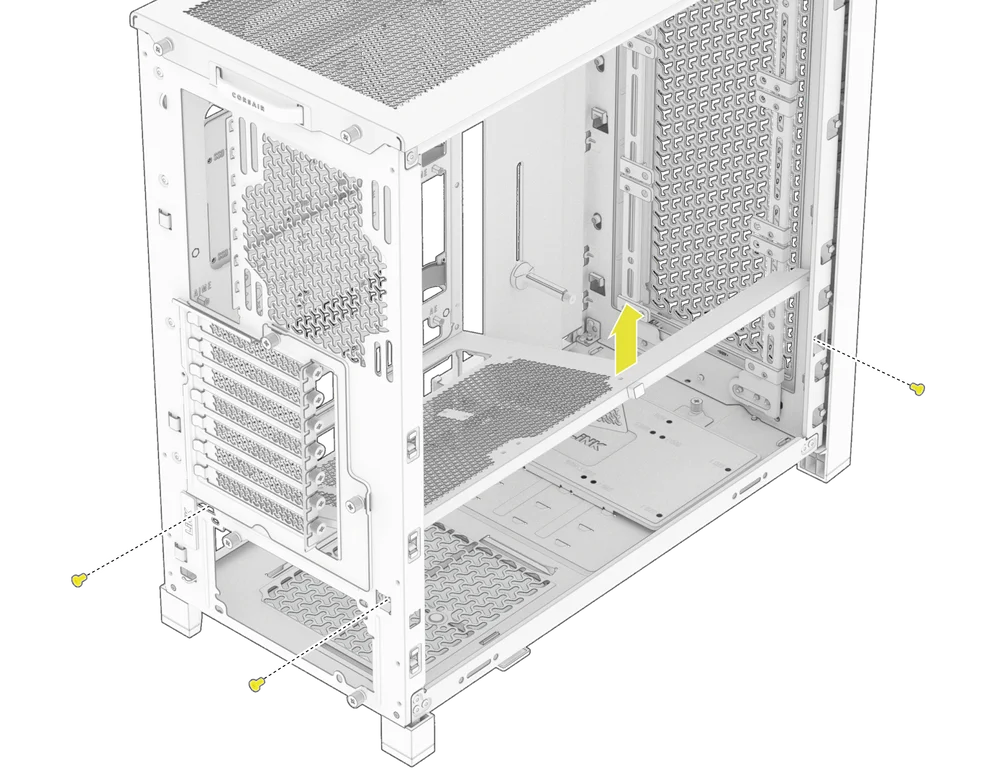
- Unscrew and remove the stock PSU shroud.
NOTE: PSU shrouds cannot be reinstalled without interfering with the side fan mounting bracket. If you have fans mounted on the shroud, remove them before taking it out.
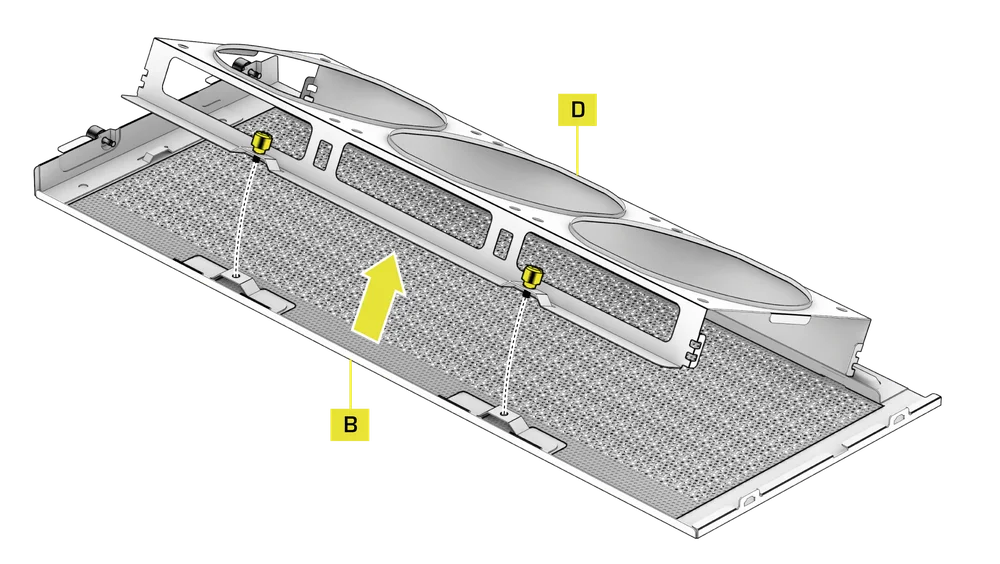
PREPARE THE COLD AIR INTAKE KIT
The FRAME 4000D Series Cold Air Intake Kit supports three 120mm fans.
- Loosen the two captive thumbscrews and separate the Fan Mounting Bracket (D) from the Mesh Side Plate (B).
- Attach fans to the Fan Mounting Bracket (D) using the CORSAIR QuikTurn fan screws or self-tapping fan screws that came with your fans.
NOTE: Ensure the fans are installed in the correct orientation to draw air from outside into the case. Refer to the fan manual if needed.
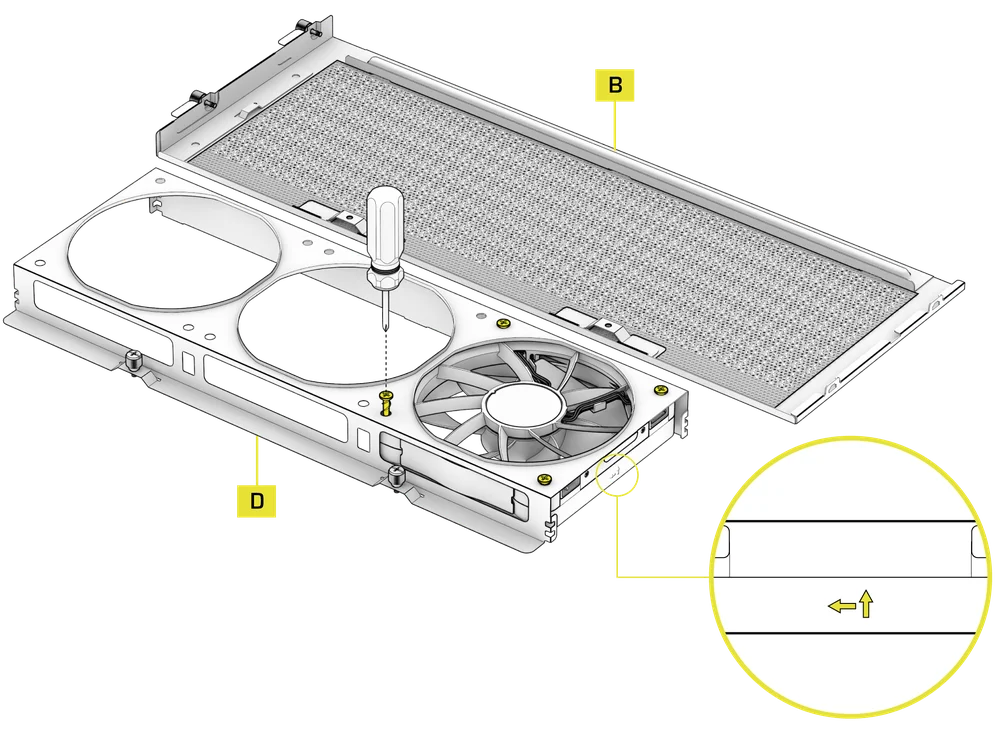
- Reattach the Fan Mounting Bracket (D) onto the Mesh Side Plate (B) and secure the assembly by tightening the two thumbscrews.
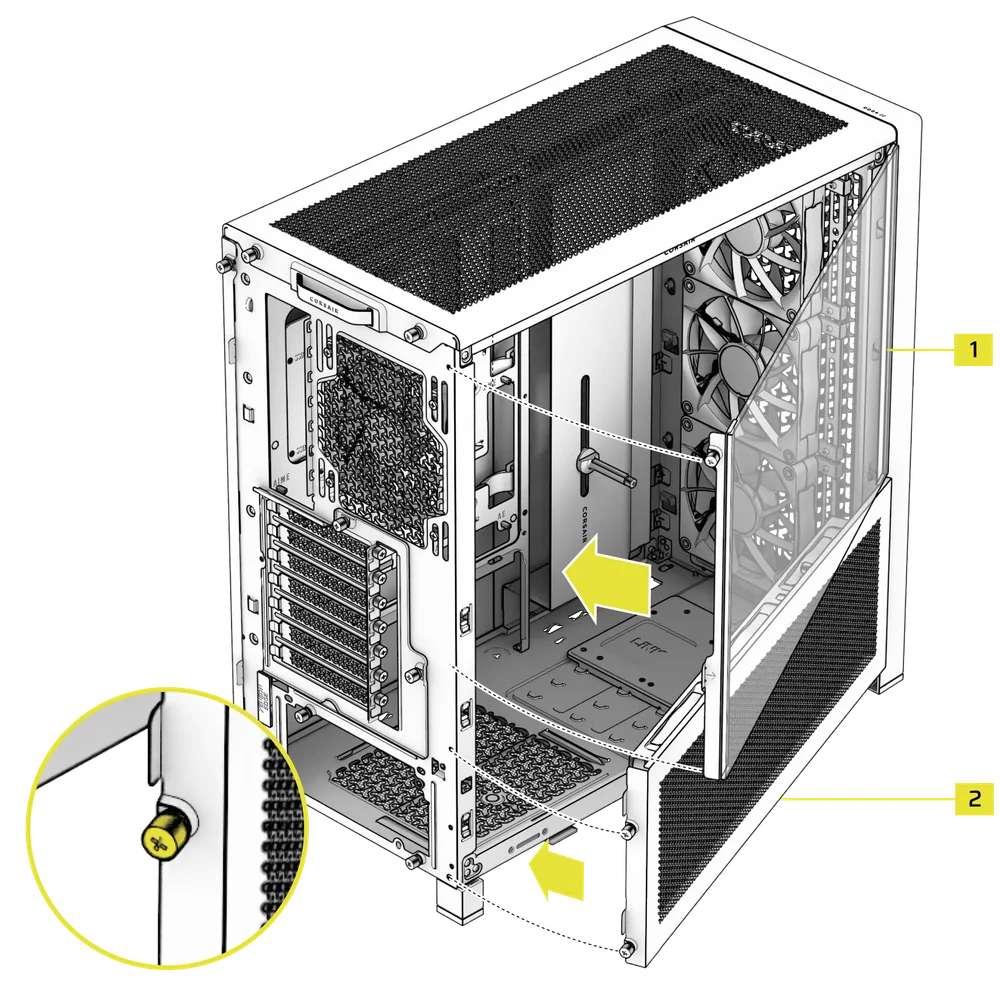
INSTALL THE COLD AIR INTAKE KIT
- Attach the Side Fan Mounting Bracket (2) to the PC case and secure it with the pre-attached captive screws.
- Route any fan cables to their various controllers or motherboard headers.
- Attach the Upper Glass Side Panel (1) to the PC case and secure it with the pre-attached captive screw.
- Reinstall the GPU Anti-sag Stabilization Arm mini mount, if necessary.
- Reinstall and connect your GPU.
ADDITIONAL INFORMATION

WARRANTY

The FRAME 4000D Series Cold Air Intake Kit has a 2-year warranty.
LEGAL
© 2026 CORSAIR MEMORY, Inc. All rights reserved. CORSAIR and the sails logo are registered trademarks of CORSAIR in the United States and/or other countries. All other trademarks are the property of their respective owners. Product may vary slightly from those pictured.