HOW TO
FRAME 4000 Series Front XENEON EDGE Mount
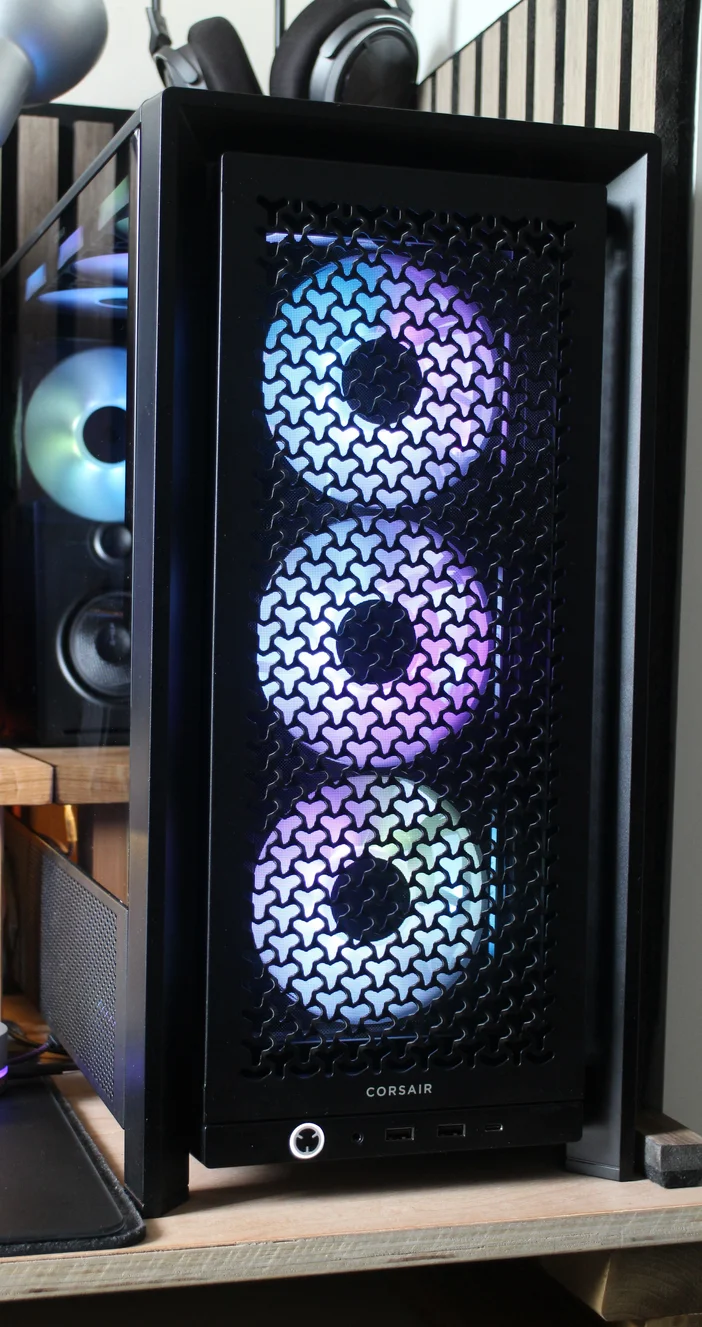
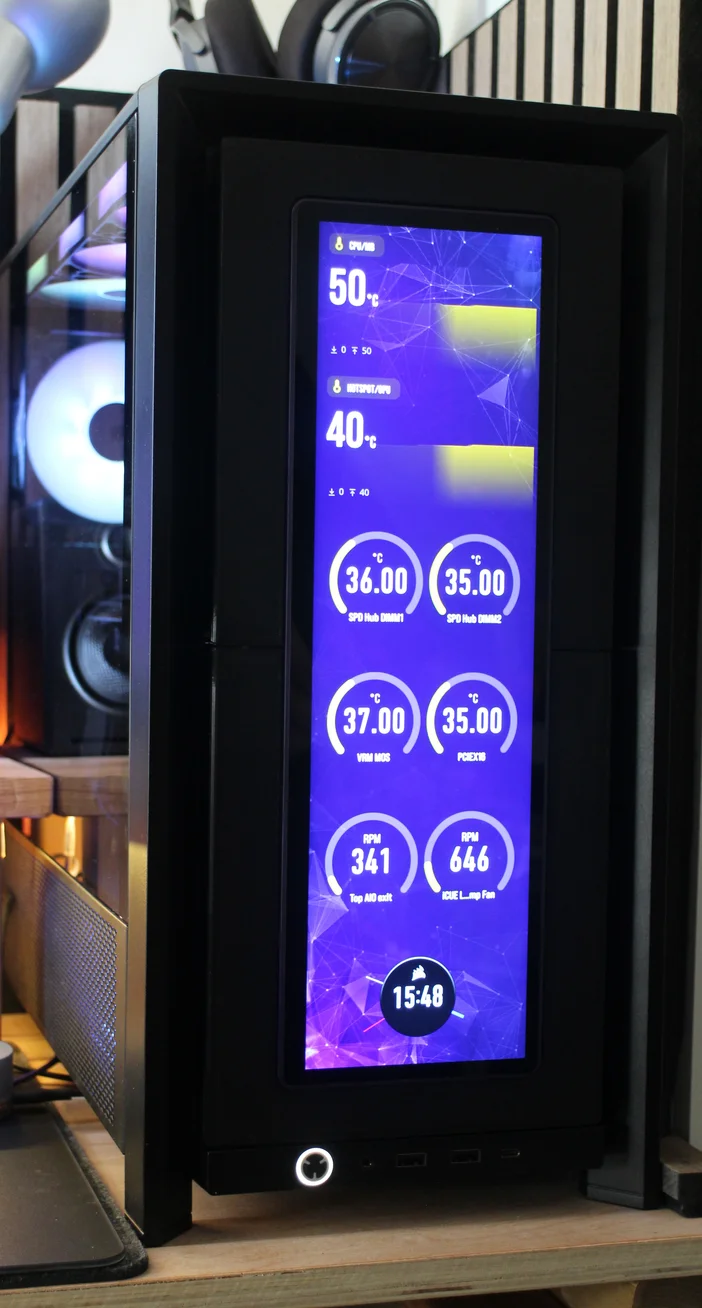
The XENEON EDGE is an exceptionally useful additional display for your PC with an ever-expanding number of ways it can being used.
We already offer the LCD mounting kit to mount the XENEON EDGE in the side of your case, but now with the help of a 3D printer you can mount one in the front of your case.
Will this Affect Airflow?
Yes. With the XENEON EDGE mounted in the front you are effectively removing the perforated front panel. If you choose to use the optional edge sections of the mount, then the airflow will be entirely blocked from the front. This will make your PC run hotter, but not unacceptably so.
If you do not use the optional edge sections, then the PC will still run hotter than usual, but air will still get in around the sides. If your config allows for it, then installing fans in the side intakes will help to mitigate this.
Why Mount a XENEON EDGE at the Front?
If you have the Cold Air Intake side panel for example you cannot mount both the fans and the screen in the side panel. Or if you cannot see the side of your computer due to your desk setup but really want to mount the screen in your case to save space.
In either of these instances, or if you are looking to do something a little different, we think you will find this an interesting and very different way to mount your XENEON EDGE to your PC.
What Parts do you Need?
Printables link for the XENEON EDGE front mount: XENEON EDGE front mount for FRAME 4000D
Below is a list of the files and how many of each you will need to print.
- 1x XENEON EDGE front mount - Main part A
- 1x XENEON EDGE front mount - Main part B
- 2x XENEON EDGE front mount - inner support
Optional
- 2x XENEON EDGE front mount - internal cover A
- 2x XENEON EDGE front mount - internal cover B
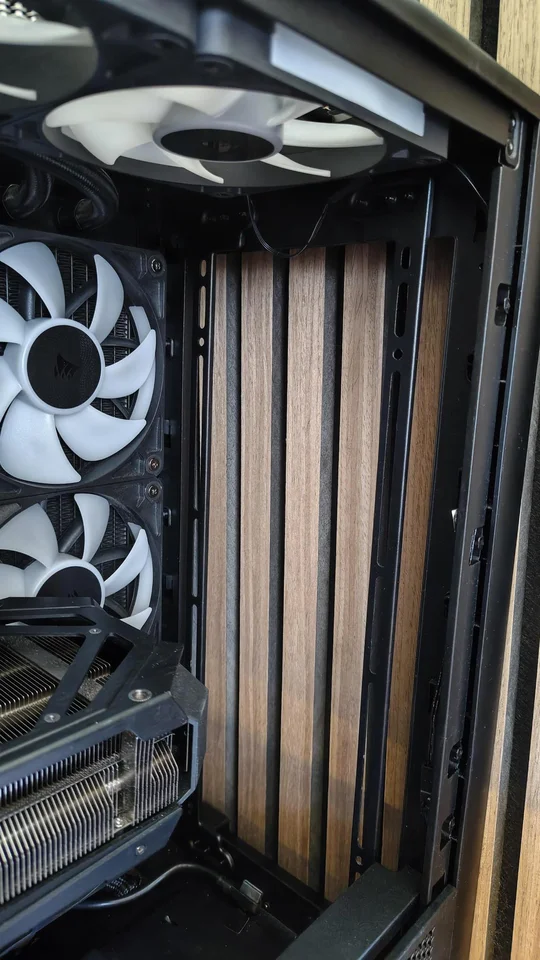
The optional parts are to cover the small gaps left on each side of the InfiniRail, so you cannot see into the case from the front, and air/dust will not be able to get in / out since we're removing the dust filter.
Hardware
- 8x M5 bolts (Any length between 12 and 16mm will work)
- 8x M5 Nuts (To mount to the InfiniRails)
- 10x M5 Nuts (If you want to use the magnets in the XENEON EDGE to attach to the mount instead of screws)
- Glue (optional)
Print Orientation
The parts should be printed as shown above - this will keep supports to a minimum making post-print clean-up less troublesome.
For supports you only need to do this on the main overhang for each of the larger parts.
To join the two main parts you will need 2x "XENEON EDGE front mount - inner support" parts, one per side. If these are too tight then scale down by a few % and reprint.
How to Assemble the XENEON EDGE Front Mount
The assembly process is relatively straightforward. Insert the two inner supports into one of the parts, and slide the other main part down over the two support pieces.
You can glue these together, but they will also be held firmly in place once mounted into the case.
Since the XENEON EDGE has built-in magnets, we have made slots for M5 nuts that can act as a metal surface for the magnets to grab. In the picture above you can see that only half of these slots are populated, which is due to the XENEON EDGE being mounted with the ports in the top.
If you where to flip the XENEON EDGE in the mount you would need to populate the other half. These should be a tight fit, but if they're loose on your print, then you can glue the nuts in place.
If you prefer a more secure mounting method, for example if the PC is moved from time to time, then you can use either the outer four screws in the edges of the display, or the two camera mounts in the center of the display can be used and will require suitable 1/4"-20 bolts.
We also included optional internal covers, These option covers perform two functions: They prevent light from coming out of the front of the case around the mount, and stop undesired passive airflow in or out of the case.
Below are two images that help illustrate the different with and without the covers.
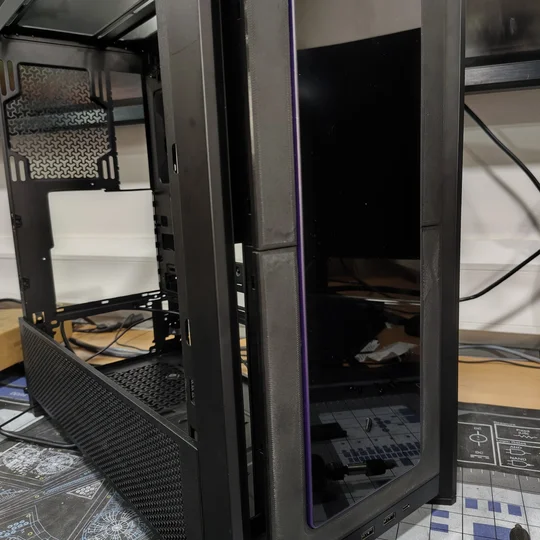
Rear with cover installed
Front with top cover installed, with the lower cover removed, so you can see the light gap
How to Install the XENEOON EDGE Front Mount
To mount the unit, you will first need to remove the front panel, dust filter and any fans / InfiniRail clips. Once done ensure the InfiniRails are set to the 120mm fan spacing.
There are two installation options at this point: with, or with out the edge covers.
This is an exploded diagram of the finished print, which may assist you with assembly.
Starting at the top, insert M5 nuts into the holes in the side of the main parts as shown, and mount into the upper positions using the fixed round hole in the rail rather than the adjustable position, as this will ensure the screen is centered.
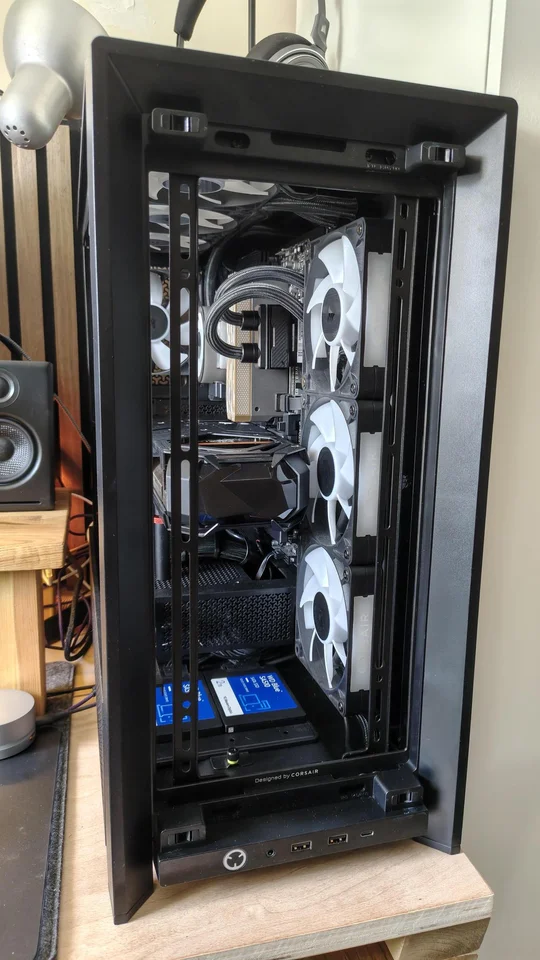
Picture from outside without display mounted
Picture from inside without display mounted
Once installed, your case should look like our example above and you are ready to mount the display and route the cables.
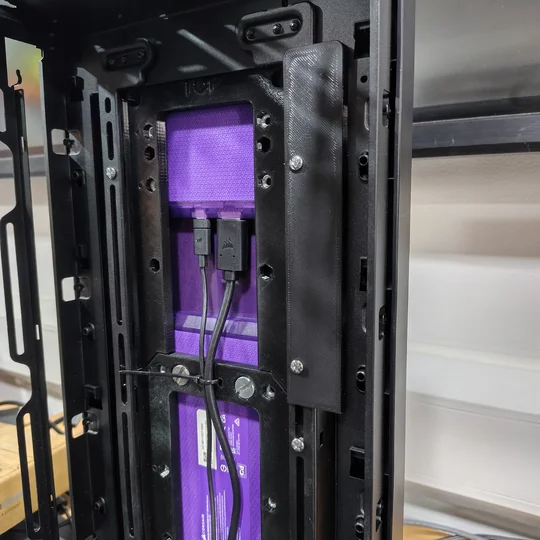
Cable Management
The 3D printed part has a neat little place for you to tie a single zip-tie to keep the cables firmly in place, ensuring they do not get pulled out of the XENEON EDGE
For a more detailed guide on installing the XENEON EDGE, please refer to the XENEON EDGE manual
PRODUKTY V ČLÁNKU
Stay up to date with CORSAIR. Get our latest News, Guides, and Product Updates in your Google feeds.
Add CORSAIR as a preferred source
JOIN OUR OFFICIAL CORSAIR COMMUNITIES
Join our official CORSAIR Communities! Whether you're new or old to PC Building, have questions about our products, or want to chat about the latest PC, tech, and gaming trends, our community is the place for you.