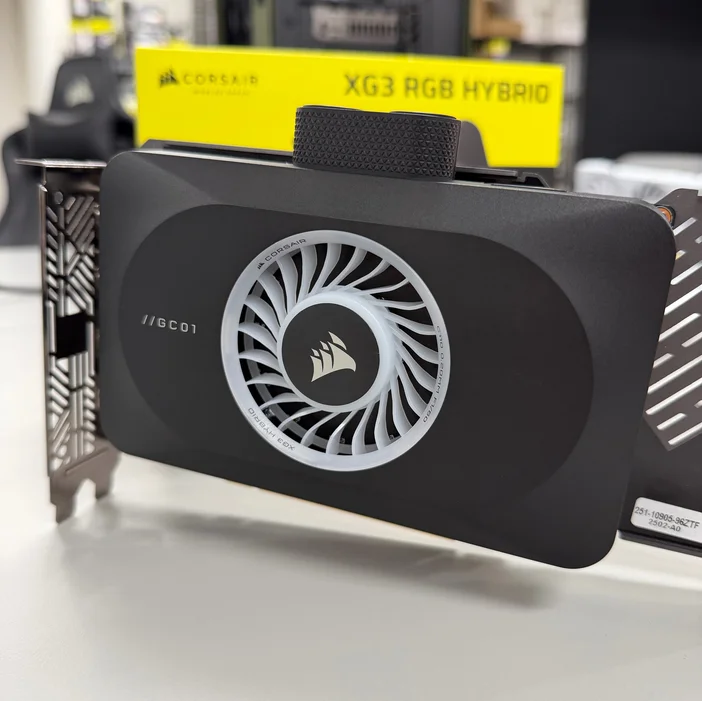
If you're looking to get started with custom cooling or need a convenient solution for your RTX 5070, 5070 Ti, or 5080, look no further than the XG3 RGB Water Block. It's compatible with a wide array of GPUs and delivers reliable cooling where it matters. The XG3's hybrid cooling design provides maximum cooling performance for those who demand lower temperatures.
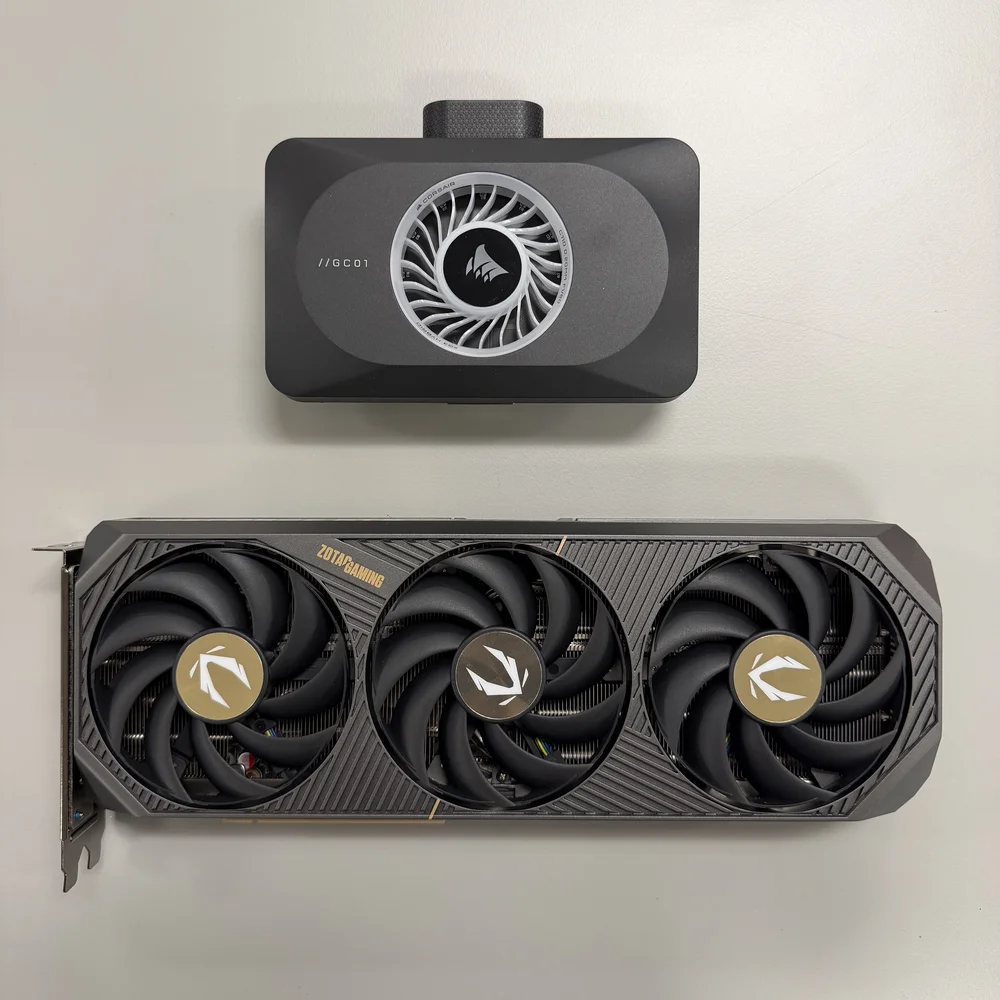
In this guide, we'll cover how to install the XG3 GPU Water Block and show how easy it is to do so. Our example GPU used here is the Zotac RTX 5070 SOLID OC. Screw locations and quantities may vary between manufacturers, but the steps apply for all compatible models.
XG3 RGB Package Contents
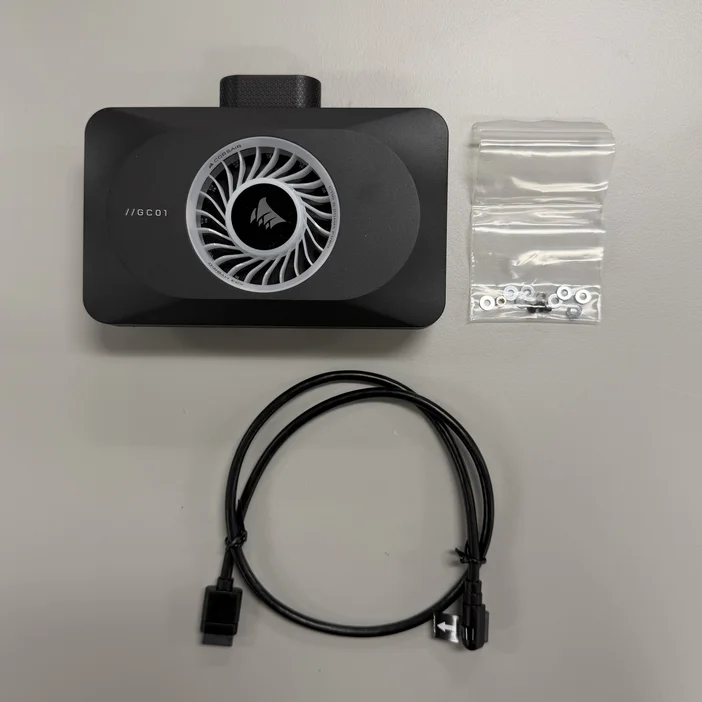
The XG3 RGB HYBRID GPU Water Block includes the following in its packaging:
- XG3 GPU Water Block
- Mounting screws
- 600mm iCUE LINK 90° cable
Remove the Stock Cooler
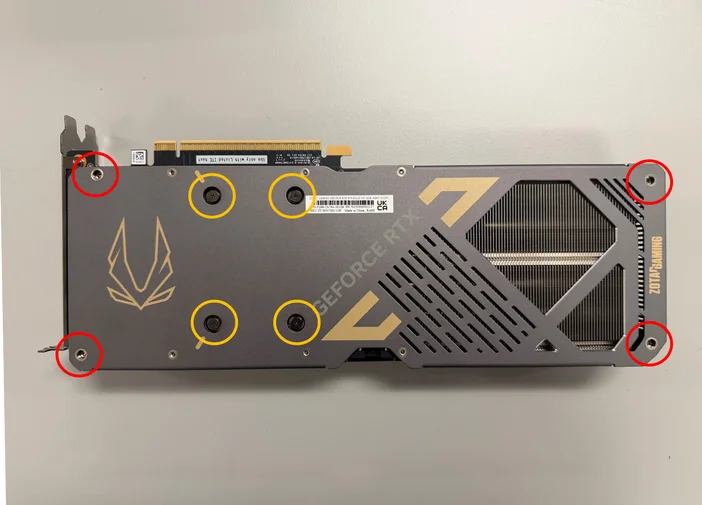
Step 1 - Remove all the screws securing the GPU to the backplate and stock cooler. The yellow-circled screws are universal across all the supported GPUs, so save these for mounting the XG3. Other screws aren't needed, but are worth keeping in case you want to revert to the stock cooler later on.
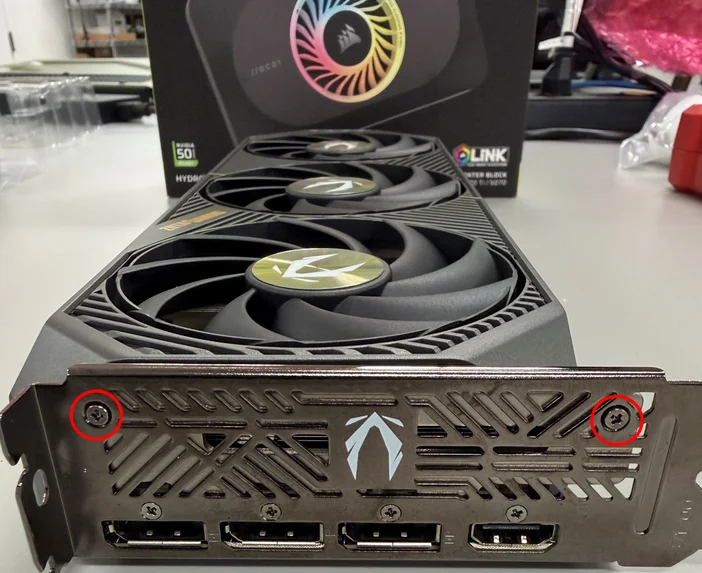
Step 2 - Remove the two screws from PCIe backplate (leave the other four screws next to the ports installed)

Step 3 - Separate the stock cooler from the PCB. Be careful with the cabling for the cooler's stock fans and lighting. Some resistance is normal when separating the cooler from the PCB due to thermal paste/padding adhesion, so apply gentle force if needed.
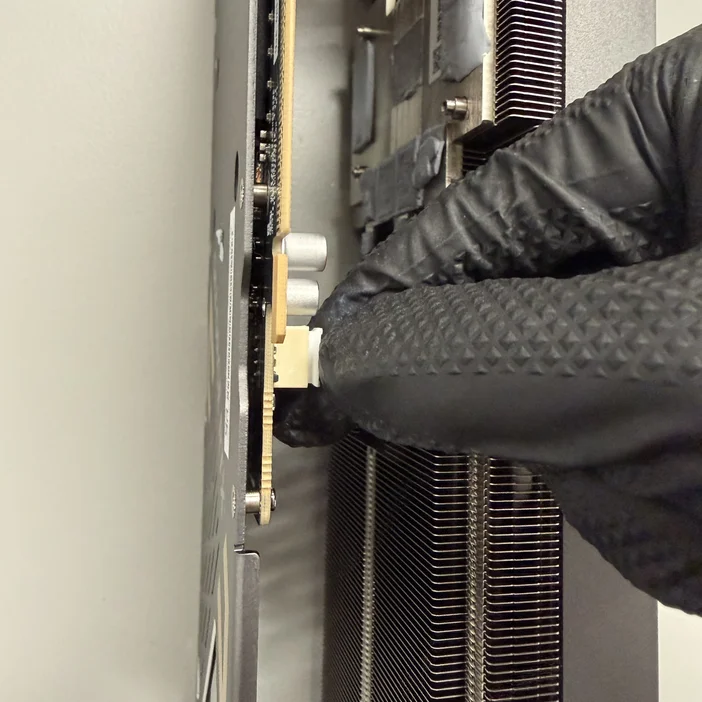
Step 4 - Carefully disconnect the cabling from the GPU PCB. Try to grip the connector itself and not simply tug on the cable itself.
Install the XG3 Water Block
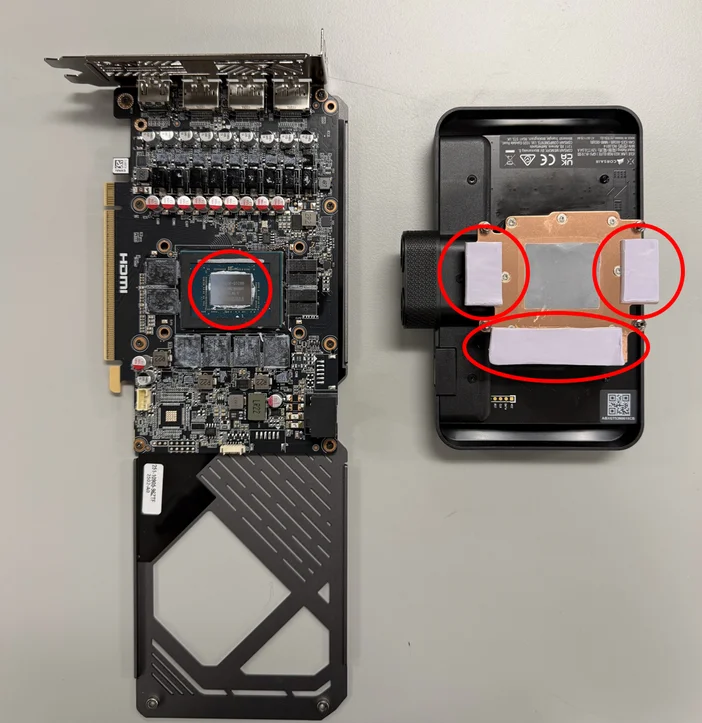
Step 1 - The XG3 comes with pre-applied thermal paste. Clean off the GPU's factory thermal paste with an alcohol wipe, then remove the plastic film from the thermal pads.
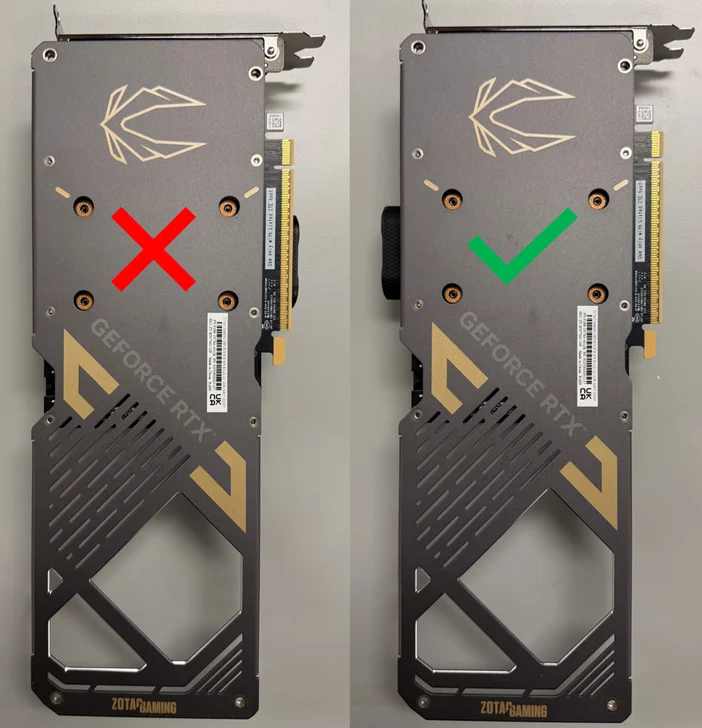
Step 2 - Place the GPU PCB on top of the XG3, with the ports facing the opposite direction of the PCIe connection.
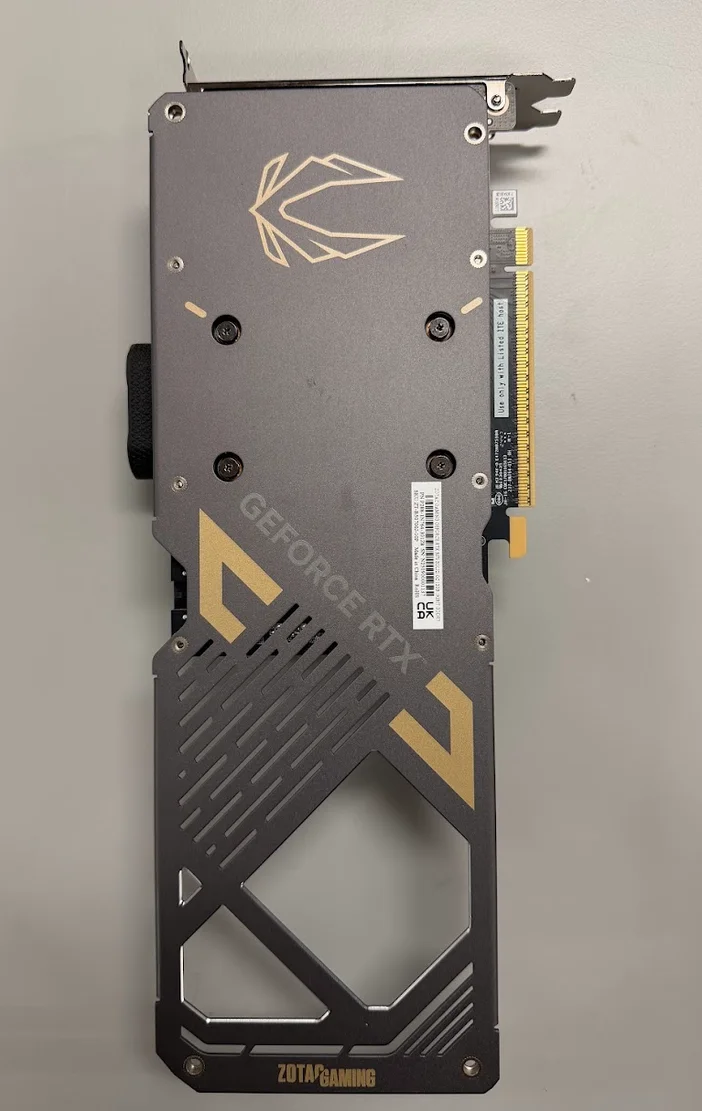
Step 3 - Use the four screws from Step 1 to secure the GPU to the XG3.
You're now done installing the XG3 RGB GPU Water Block.
Store any unused hardware and stock cooler with your GPU's packaging if you plan to keep them. Next, install your water-blocked GPU into your custom loop and enjoy the XG3's aesthetics and cooling performance. Don't forget to connect the iCUE LINK cable!
PRODUKTY V ČLÁNKU
JOIN OUR OFFICIAL CORSAIR COMMUNITIES
Join our official CORSAIR Communities! Whether you're new or old to PC Building, have questions about our products, or want to chat about the latest PC, tech, and gaming trends, our community is the place for you.