MANUAL | HURTIG STARTGUIDE
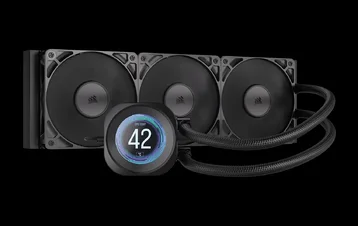
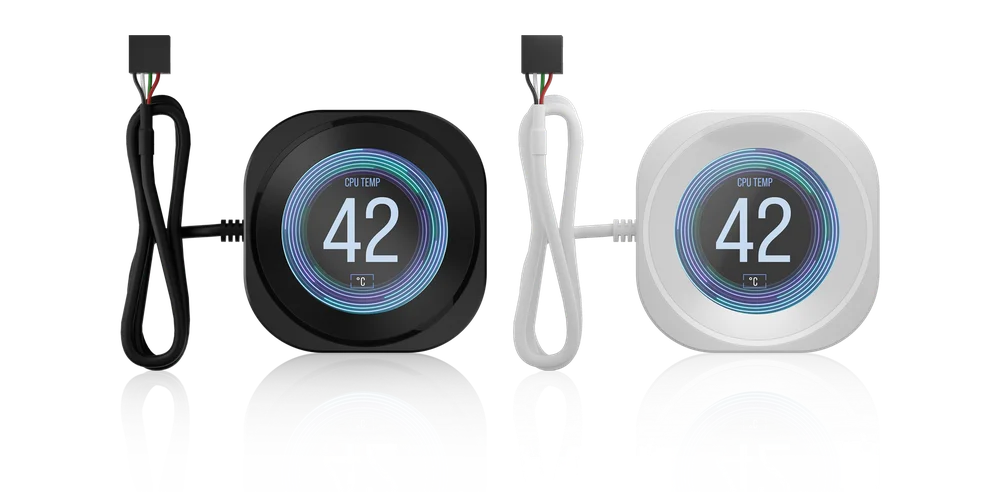
CORSAIR NAUTILUS RS LCD-SKÆRM MODUL
LCD-SKÆRMHÆTTE TIL NAUTILUS RS VÆSKEKØLERE
Den engelske version er tilgængelig her - English
Hvis du har andre problemer, bedes du kontakte kundesupport
FØR DU BEGYNDER
PAKKEINDHOLD
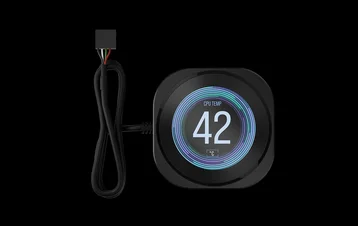
1x NAUTILUS RS LCD-skærmmodul

INSTALLATION
INSTALLATION AF LCD-MODUL
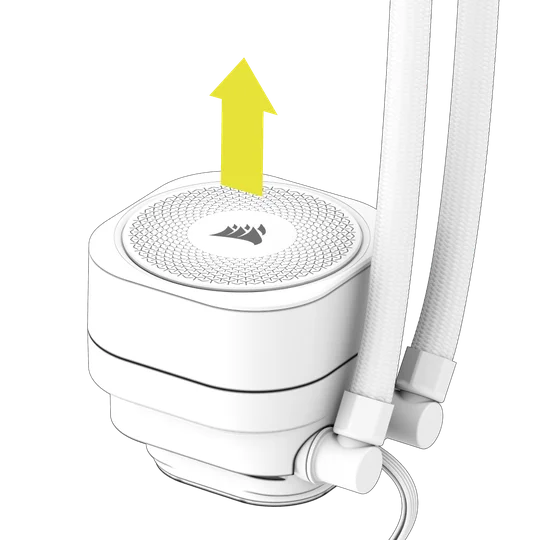

1. FORBERED DIN NAUTILUS RS VÆSKEKØLER TIL CPU
Træk pumpelåget forsigtigt væk fra pumpens base med et fast greb.
2. INSTALLÉR NAUTILUS RS LCD-SKÆRM MODULET
Juster styrepinden på toppen af modulet med pumpens base, og skub derefter NAUTILUS RS LCD-skærmmodulet forsigtigt ned på pumpens base, så det klikker på plads.
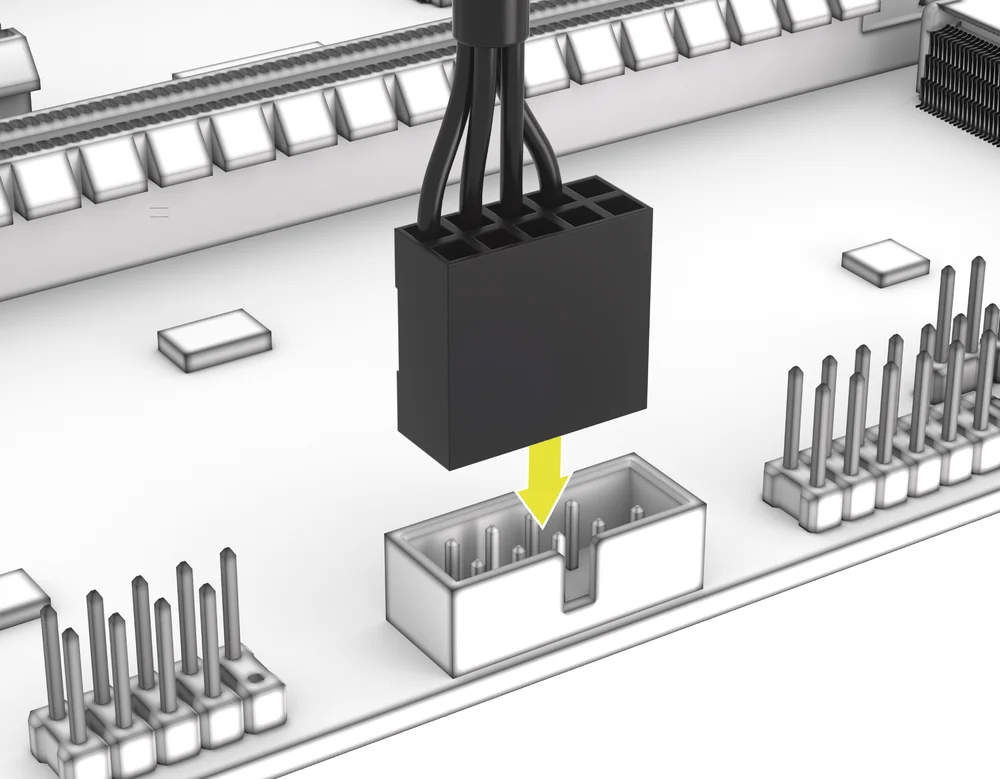
KABELTILSLUTNING
- Tilslut USB-stikket med 9 ben fra NAUTILUS RS LCD-skærmmodulet til en USB 2.0-header på bundkortet, så den røde ledning er på linje med strømstikket i USB 2.0-headeren.
SOFTWARE-OPSÆTNING
1. INSTALLER iCUE
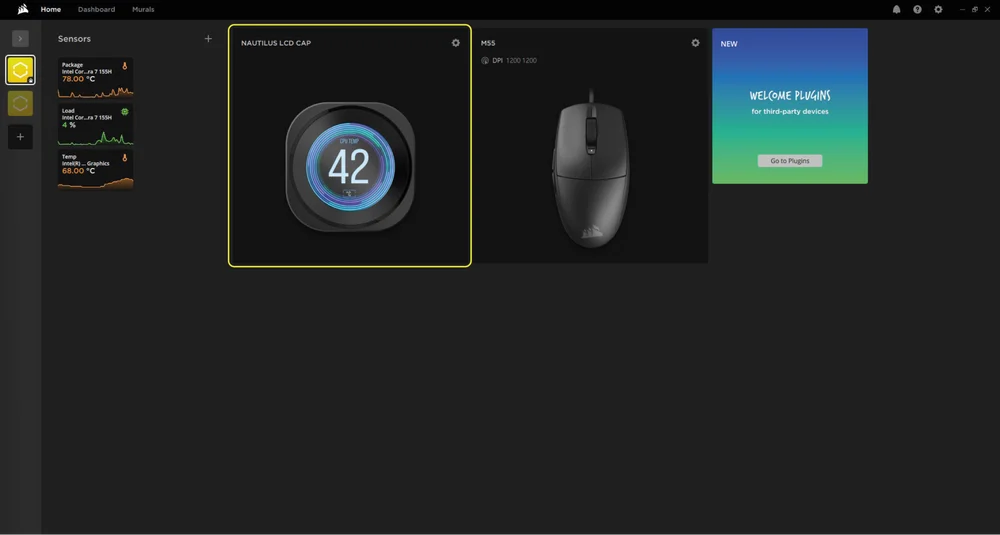
- Når iCUE er installeret, skal du køre softwaren. NAUTILUS LCD CAP vises i iCUE-grænsefladen.
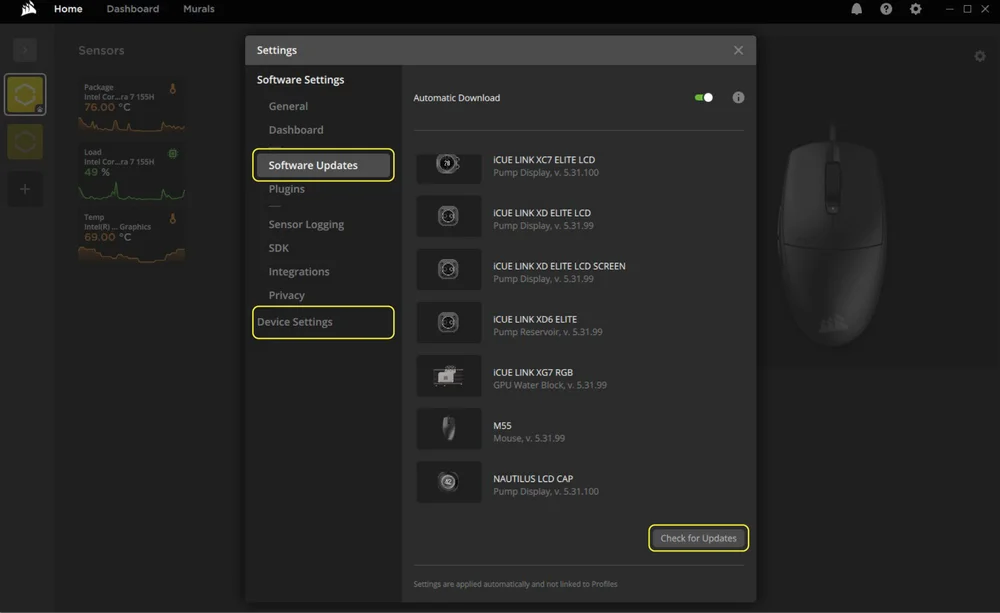
2. KONTROLLER FOR OPDATERINGER
- Hvis en af de tilsluttede enheder har brug for en firmwareopdatering, bliver du bedt om at udføre en opdatering via en meddelelse i øverste højre hjørne. Du kan også klikke på indstillingerne (tandhjulsikonet i øverste højre hjørne) og manuelt kontrollere, om der er software- og firmwareopdateringer.
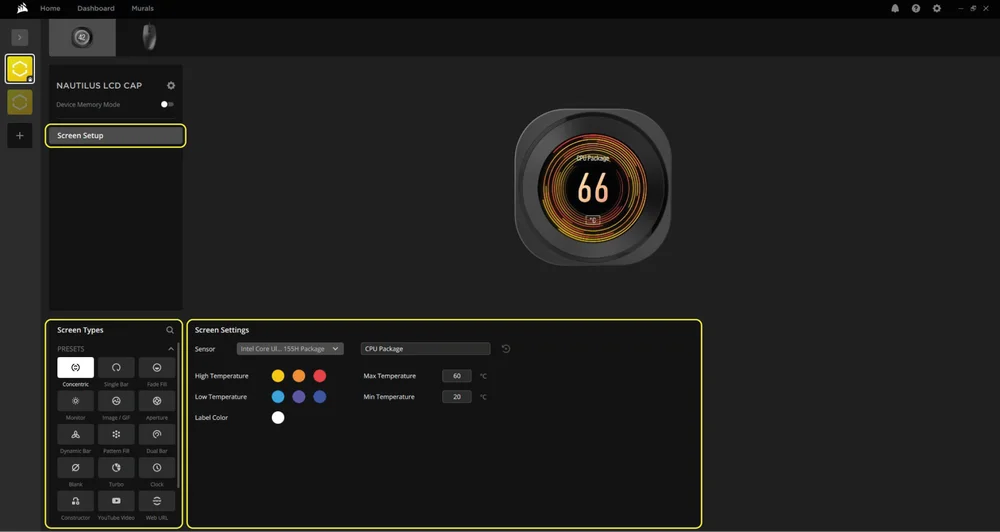
3. SKÆRMINDSNSTILLINGER
Vælg, hvad der skal vises på NAUTILUS LCD CAP, når iCUE-softwaren kører:
- Klik på "Skærmopsætning" for at åbne siden med skærmopsætning.
- Vælg den ønskede forudindstilling i panelet "Skærmtyper".
- Juster den valgte forudindstilling i panelet "Skærmindstillinger".
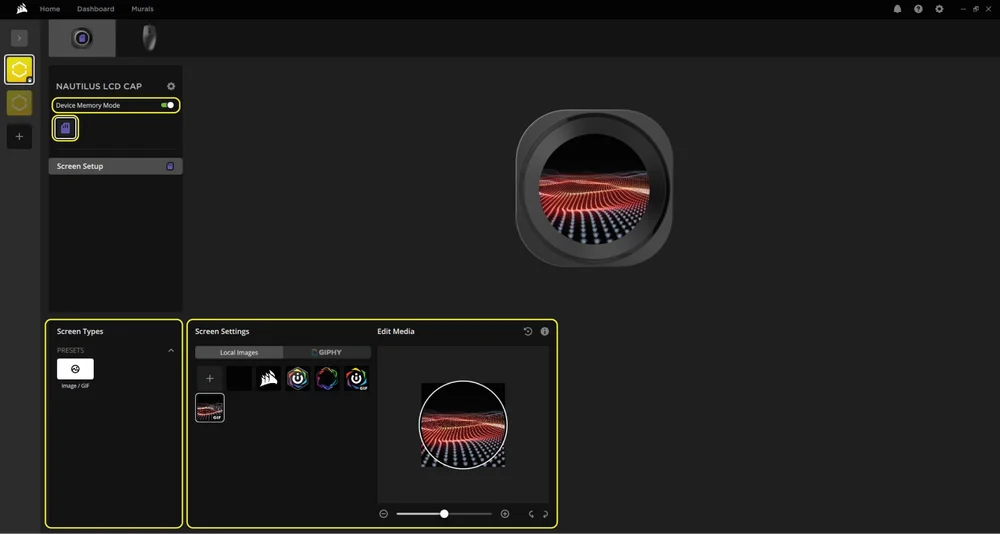
4. ENHEDENS HUKOMMELSE
Vælg, hvad der skal vises på NAUTILUS LCD CAP, når iCUE-softwaren ikke kører – normalt under computerens opstart:
- Skift mellem "Enhedshukommelsesindstilling" ved at klikke på knappen.
- I panelet "Skærmindstillinger" skal du vælge et af de tilgængelige billeder eller uploade dit eget.
- Klik på ikonet Gem for at gemme indstillingen.
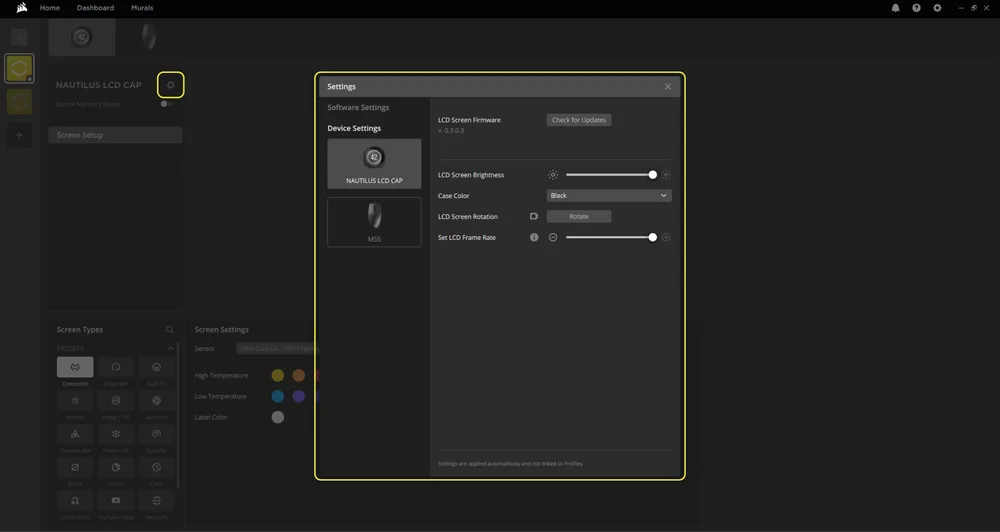
5. ENHEDSINDSTILLINGER
- Klik på indstillingshjulet ved siden af enhedens navn.
- Konfigurer skærmens lysstyrke, enhedens farve, skærmrotation og LCD-billedhastighed.
OFTEST STILLEDE SPØRGSMÅL
Kan jeg installere NAUTILUS RS LCD-skærmmodulet, mens min computer er tændt?
For at sikre korrekt funktion skal du kun installere NAUTILUS RS LCD-skærmmodulet, når computeren er slukket.
Hvordan roterer jeg mine billeder og/eller GIF'er med iCUE?
Når LCD-skærmen er genkendt af iCUE, kan du redigere billeder og GIF'er på enhedens indstillingsskærm. Dette omfatter upload af nyt indhold samt rotation af billederne direkte i iCUE-softwaren.
Kan jeg installere NAUTILUS RS LCD-skærmmodulet på en iCUE LINK AIO?
Nej. LCD-skærmmodulet er specielt designet til NAUTILUS RS-serien AIO'er og er ikke kompatibel med iCUE LINK AIO'er.
GARANTI

CORSAIR NAUTILUS RS LCD-skærmmodulet har 5 års garanti.
JURIDISK
© 2025 CORSAIR MEMORY, Inc. Alle rettigheder forbeholdes. CORSAIR og sejllogoet er registrerede varemærker tilhørende CORSAIR i USA og/eller andre lande. Alle andre varemærker tilhører deres respektive ejere. Produktet kan afvige lidt fra det afbildede.
RELATERET INDHOLD