We’ll freely admit that very few of us get excited about SSD software, but that doesn’t stop these apps from being useful tools to have in your software arsenal. They’re great for checking on the health of your drives, for performing useful functions such as your data off them, and for making copying your current Windows install across to a new drive that much easier.
If you're curious for the technical stuff, read the SSD Toolbox 2.0.129 Preview Patch Notes for all the details.
On top of that, the CORSAIR SSD Toolbox has had a major facelift with the new version, which will be the first thing that jumps out to anyone who used the previous version. The good news is that it doesn’t just look much better, it also has plenty of useful features under its shiny new interface. Here’s the lowdown on why you should install it if you’ve got an internal or external CORSAIR SSD:
- Monitor drive status and health: View real-time status and health information for your CORSAIR SSDs, and keep firmware updated to the latest available release.
- View S.M.A.R.T. Status: Access industry-standard S.M.A.R.T. data and export it for further analysis.
- Drive Self-Test: Receive an overall evaluation of your drive’s health based on integrated diagnostic checks.
- Data Migration: Clone partitions to seamlessly move all your data to a new drive.
- Erase Data Securely: Permanently and securely erase sensitive data from a drive.
- Control TRIM status: Manage TRIM scheduling for optimal data organization and performance.
Before we go any further though, you’re probably wondering how to get it onto your machine. Let’s start at the beginning then.

How to install SSD Toolbox
- Start by grabbing the latest version of SSD Toolbox 2.0. (Use the drop-down menu to select "Storage" and download the Toolbox Preview.) Once you've download it, double click it to launch.
- Select your language of choice before reading and then agreeing to the EULA, Privacy Policy, and Terms of Service before hitting Next. If you don’t agree to these terms, then you shouldn’t install it. We won’t hold it against you.
- If you already have a version of SSD Toolbox installed, you’ll have to uninstall it before continuing. Once it has finished uninstalling, you’ll need to launch the installer again to continue.
- On the next screen you’re given the option to share your data usage with CORSAIR, or you can opt in later to do so. Totally up to you. Once that’s done, choose where you want to install it (the defaults should be fine for most) and hit Next to start installing it. Once it’s done, you can hit the big yellow button to Start SSD Toolbox.
When you first run SSD Toolbox 2.0 you may get the option to update it straight away. It’s always wise to run the latest version of any software, and this is no different. Click the cog in the bottom left-hand corner before hitting the Check for Update button to ensure you are running the very latest version.

Firmware Updates
The other thing worth checking the moment you install the software is whether there are any firmware updates for the CORSAIR drives you have either in your system or connected to it.
There is an element of risk when performing any firmware update on an SSD, which is why we recommend backing up your data before proceeding. This isn’t an idle warning either. You really could lose all the data on the drive you’re updating, so make sure you back up anything that is important to you. In these days of readily available cloud storage, this shouldn’t be a big ask.
You may also find that updating a drive’s firmware will require you to restart your machine. If it asks you to restart, then do so just to make sure that everything is running exactly as it should.
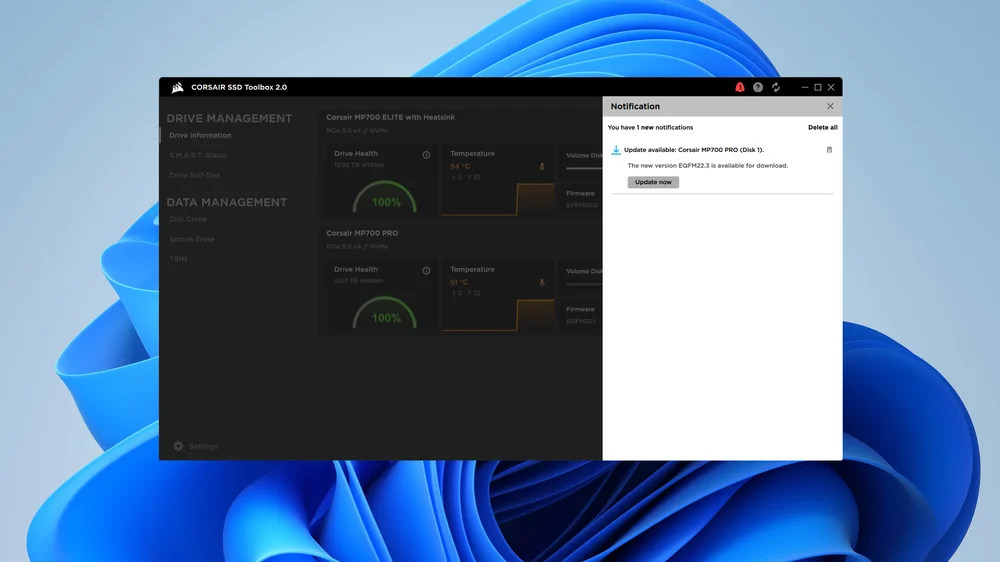
Monitor drive health
Most of the information you’ll need about your SSDs is displayed on the default home screen, or the Drive Information page if you’d prefer. This shows all your drives, their drive health, current temperature, and the amount of space each SSD has free. You can hit the Details link in the top right-hand corner for each drive for more information, but generally this screen has what you need for day-to-day use.
S. M. A. R. T. Status
SMART stands for Self-Monitoring, Analysis, and Reporting Technology, is a monitoring system used by hard drives and solid state drives to keep an eye on their health and help spot potential problems. In theory it can help detect predictable failures so that you can act before losing data, so it’s worth keeping a vague eye on. It can’t do anything about non-predictable failures though.
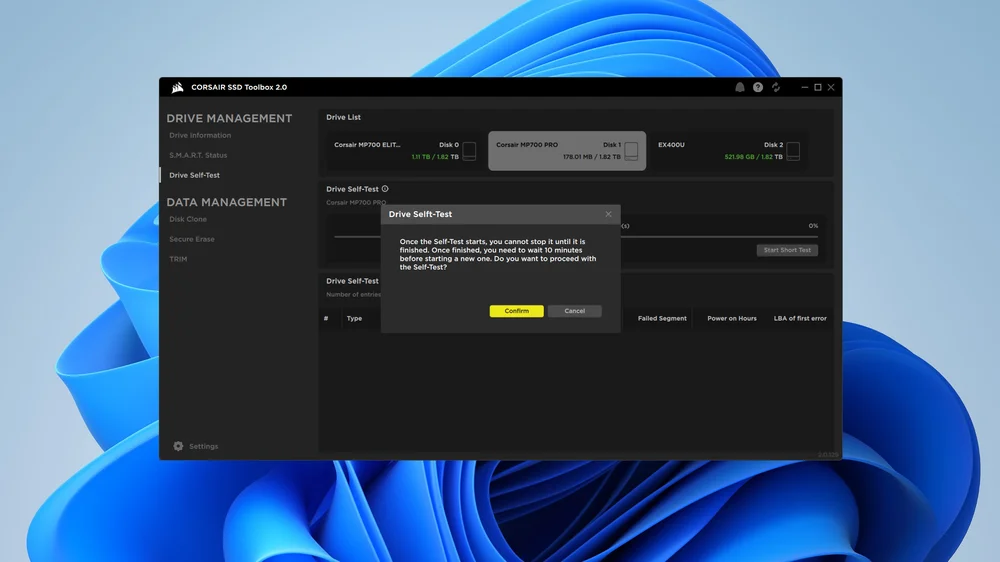
Drive Self-Test
Performing a drive self-test isn’t something you’ll want to do very often, but if you have any doubts about your drive’s performance or health, this is a great way of digging a little deeper. Hit the Drive Self-Test link on the left, pick the SSD you want to check from the Drive List at the top, and then hit the Confirm button to proceed. Once completed, the results of the test will appear in the Log at the bottom of the screen.
Disk Clone
We’re big advocates of installing Windows afresh when you buy a new SSD, if only to get rid of all the detritus that invariably collects over time with an operating system. Still, there are times when that’s not possible or not preferable. If you just want to copy everything onto your new drive, then you can use Disk Clone to do exactly that. Select your source on the left and then pick your new drive under Destination and hit Start to get things going.
Secure Erase
If you’re passing an old drive on to someone else, or you just want to blitz what’s on a drive, then the Secure Erase option is the way to go. As the name suggests, this will thoroughly remove everything on the drive you run it on. Permanently. Obviously, you need to use this with extreme caution.
TRIM
Windows is pretty good at sorting out TRIM on its own, but if you know what you’re doing and have a specific reason to take matters into your own hands, then you can control TRIM from the SSD Toolbox directly. If you’re not sure what TRIM is, we recommend leaving this alone.
JOIN OUR OFFICIAL CORSAIR COMMUNITIES
Join our official CORSAIR Communities! Whether you're new or old to PC Building, have questions about our products, or want to chat about the latest PC, tech, and gaming trends, our community is the place for you.