In this article, we are going to show you how to mount three 420mm custom cooling radiators with a simple, non-permanent change.
You may be asking yourself the perfectly valid question: Why would I want three 420mm radiators in my case?
The simple reason is that in custom cooling, radiator surface area is king. While push/pull fan configurations on a single radiator, or thicker radiators will give you a minor increase in performance, adding more radiators will greatly increase the overall performance of your loop.
Make Room for Triple Radiators
The FRAME 5000D is designed with dual radiators in mind, but luckily supports triple radiators with a simple change (mind you, triple 420mm radiators are still a tight squeeze). To make it fit, we will need to move one of the InfiniRails further left than what is possible "out of the box." This change requires you to take off the front panel and I/O, which we will guide you through.
What Do I Need?
- Phillips #1 screwdriver
- Torx T15 bit or key
- A bowl or container for screws
Summary of Process
- Remove front I/O and bezel
- Remove two InfiniRail bolts
- Move InfiniRail brackets
- Reinstall front I/O and bezel
- Install fans and radiators
Detailed Steps
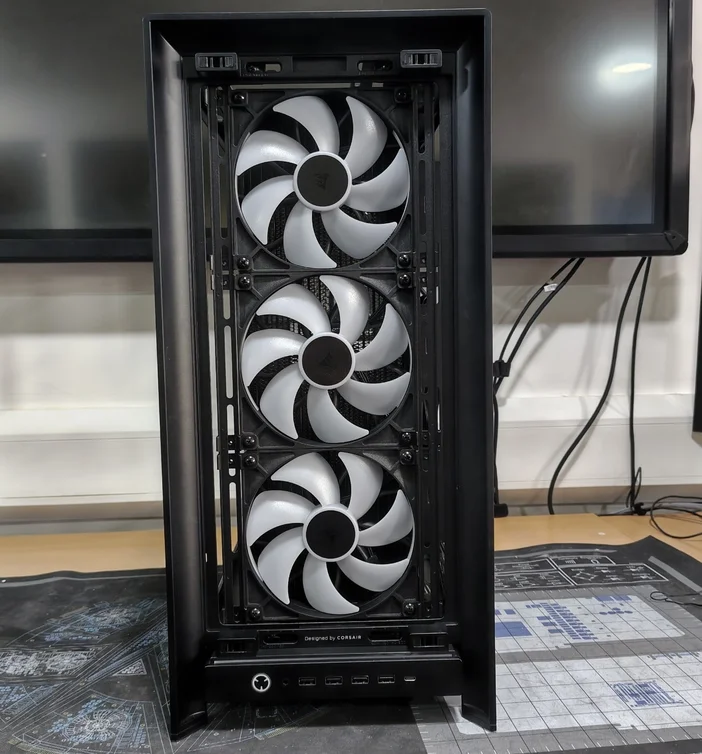
To make life easier, remove all the case panels and the PSU shroud, along with the stock fans and InfiniRail clips.
Now we can begin removing parts of the case to gain access to the screws. To start, we will need to detach the front I/O panel highlighted above.
From inside the case, behind the I/O panel, you will see two small screws located in the areas in the yellow boxes. These hold the front I/O in place. Remove both and keep them safe. These will be needed to remount the front I/O.
Pull the cables clear of the front of the case. You don't need to remove them, just bring them forward as shown to allow removal of the bezel.
Next, turn the case upside down so the feet are facing upward. You will notice, behind the front feet, two screws on either side highlighted in the yellow boxes. Remove both, again keeping them to one side for later.
Now, rotate the case so that the front panel is facing upward. Once done, you can slide the entire front bezel slightly toward the front I/O panel, which will allow you to lift the panel off.
With the bezel removed, you can now access the two bolts marked in yellow. These are in place for stability of the InfiniRail, but since we will be mounting a large radiator, we can safely remove these as it will provide sufficient reinforcement.
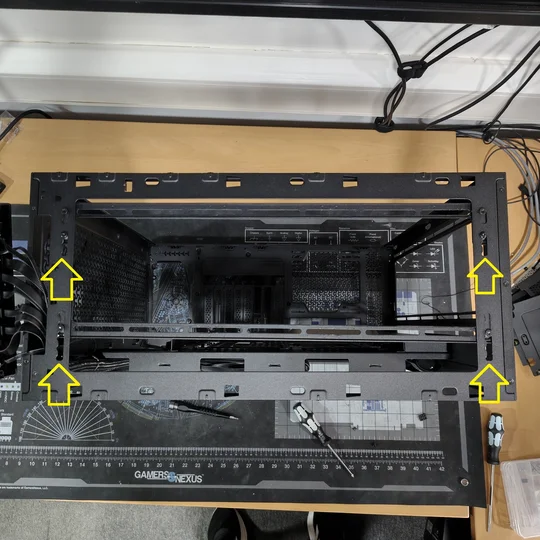
Without the two bolts, the rail can now be moved much further across.
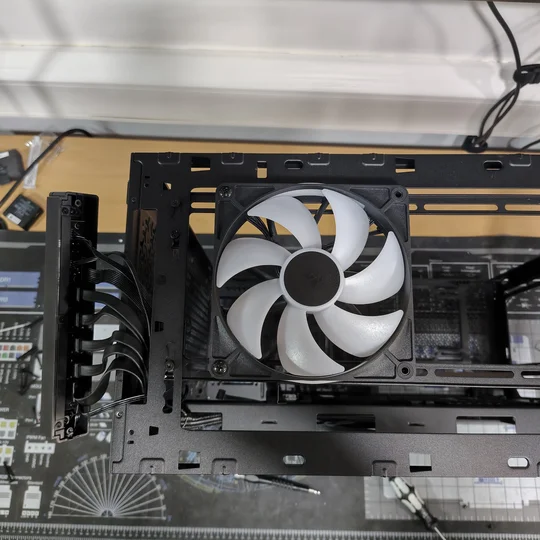
Loosen the bolts on the InfiniRails and move both rails as far left as possible (as shown in the images above). You may find it beneficial to place a 140mm fan on the rail at this stage as a guide to ensure the spacing is correct. Once you have the correct spacing and the left rail (the one you have not removed bolts from) is in the furthest left position, tighten the bolts again.
Once done, you can reinstall both the front bezel and the front I/O.
Installing the Radiators
In this installation, we have used CORSAIR iCUE LINK RX140 RGB 140mm fans (25mm thick) and CORSAIR Hydro X Series XR5 NEO 420 V2 (30mm thick) radiators.
The maximum thickness for your radiator/fan combo should stay at, or below, 56mm.
We also recommend the following port configurations:
- Front radiator = ports down, straight fitting
- Side radiator = ports down, one angled fitting
- Top radiator = ports to rear of case, straight fitting
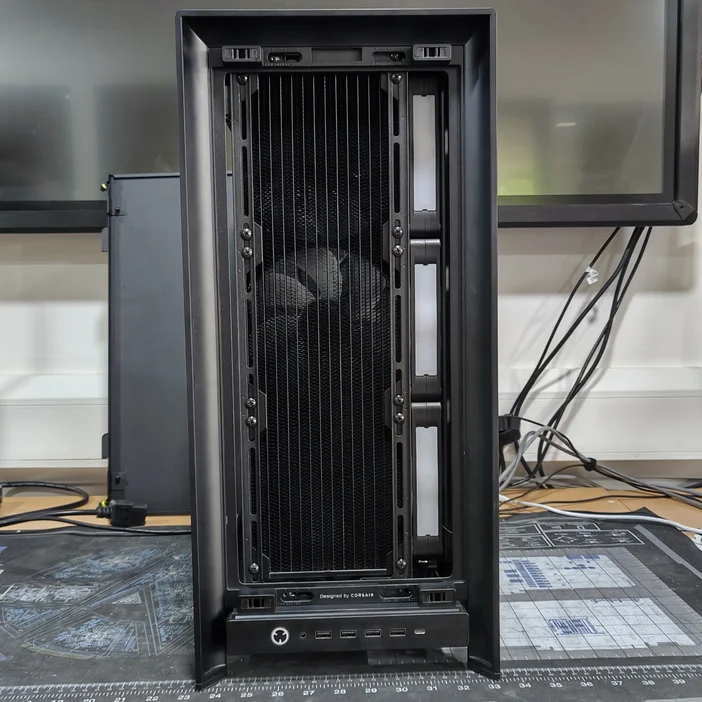
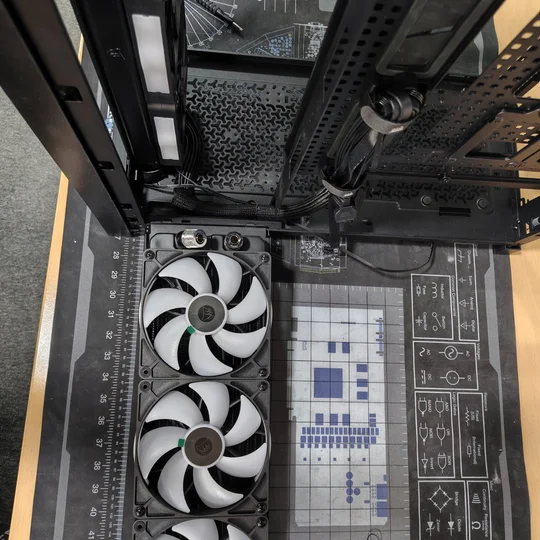
We recommend starting with the front radiator. Install the upper-most screws first and then work down.
This image also helpfully shows why we did this, which is the side radiator. Without moving the rails across, we would not be able to fit the front and side radiators due to their thickness.
Note the radiator is slightly higher than normal. This is to allow easy access to the radiator ports, as the front I/O cables run under the front radiator and to allow the installation of additional fans.
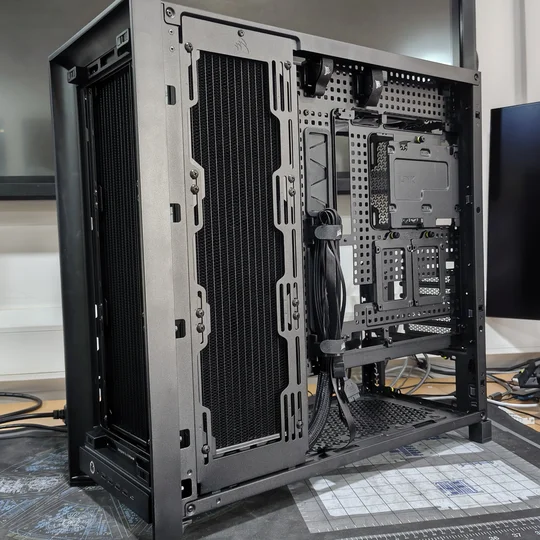
For the side radiator, you can mount it to the fan bracket panel outside of the case. It is far easier to do so. Then mount the fan bracket panel back into the case from the bottom and secure it at the top with the fastening screw. We advise moving the radiator as far upward as it can go on the rail to allow more room for the hoses and fittings at the bottom.
The top radiator is relatively straightforward. Just ensure you support the radiator while you screw it in place and that the ports are to the rear of the case.
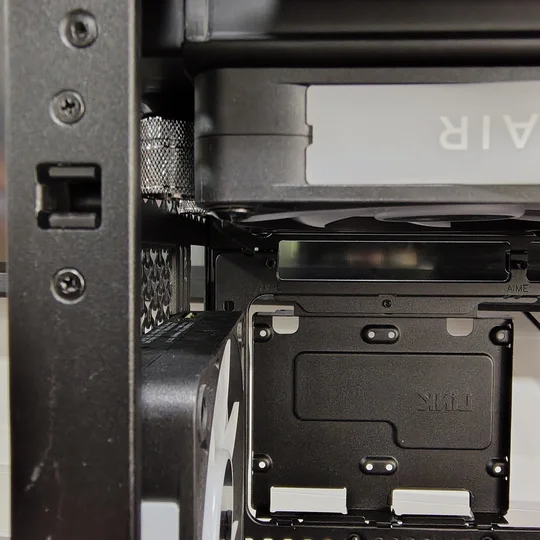
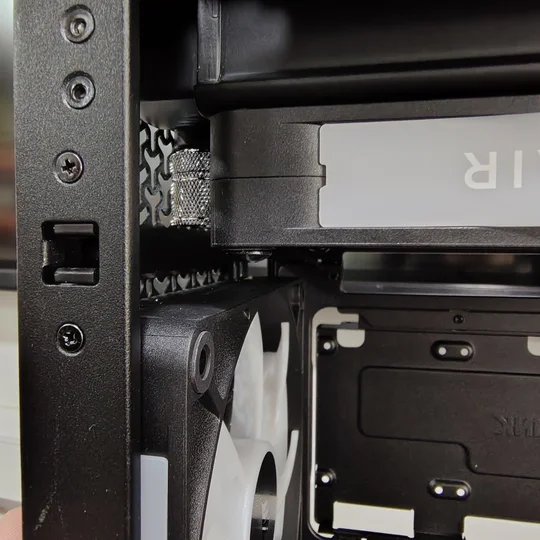
If, when installing, either the panel does not sit flush or you feel resistance, stop and remove the panel, checking for obstructions. If you cannot see any problems, slowly try again while looking down through the top of the case. You should be able to see anything there that may be causing an issue.
Rear Fan
120mm fan
140mm fan
Due to the fittings and hoses for the top radiator, we recommend using a 120mm rear fan, or no fan at all, as tubing can limit clearance. We recommend using either the bottom fan mounts or a cold air intake kit instead.
To further maximize airflow, you can install the FRAME 5000D Cold Air Intake Kit and add an additional three 140mm fans to the side of the case.
You can also add either two 120mm fans or two 140mm fans to the bottom of the case.
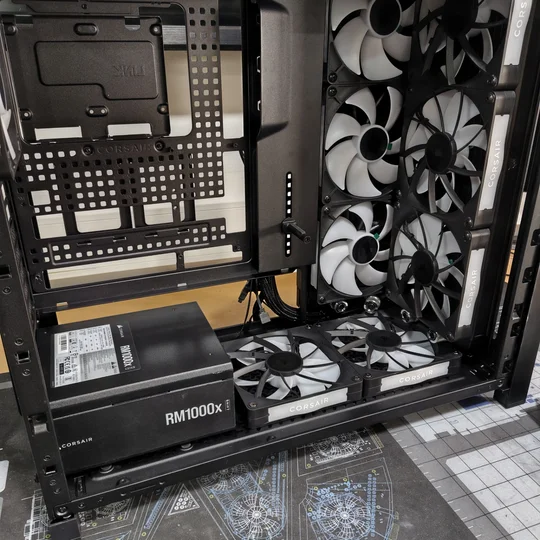
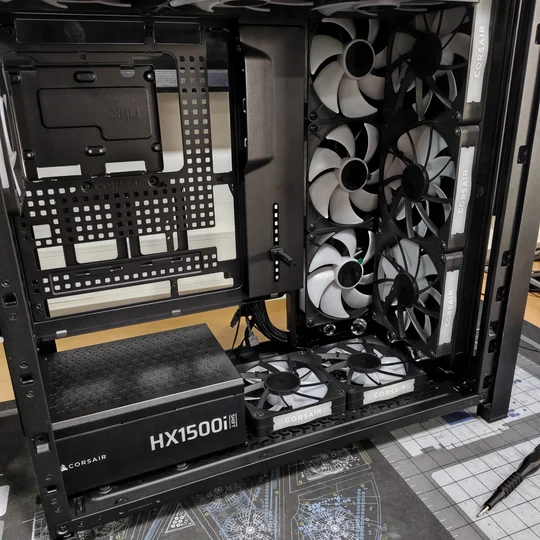
Adding two fans to the bottom of the case will restrict the maximum PSU size to:
- 2x 120mm fans = maximum PSU length of 210mm, e.g. CORSAIR HX1500i SHIFT
- 2x 140mm fans = maximum PSU length of 195mm, e.g. CORSAIR RM1000x SHIFT
You can also combine the bottom fans with the Cold Air Intake Kit for the ultimate cooling setup, giving you potentially 14x 140mm fans and a single 120mm fan.
And that is it. You are now ready to build the ultimate custom cooling system with more radiator capacity than any person should need.
REGISTRO DE PRODUTOS
Stay up to date with CORSAIR. Get our latest News, Guides, and Product Updates in your Google feeds.
Add CORSAIR as a preferred source
JOIN OUR OFFICIAL CORSAIR COMMUNITIES
Join our official CORSAIR Communities! Whether you're new or old to PC Building, have questions about our products, or want to chat about the latest PC, tech, and gaming trends, our community is the place for you.