HOW TO
How to: Update the BIOS on a CORSAIR Vengeance or CORSAIR ONE with an MSI motherboard
Last updated:
We recommend always keeping your CORSAIR system BIOS updated, as doing so provides security updates and improves system stability.
This article will detail how to update the BIOS on a CORSAIR Vengeance or CORSAIR ONE with an MSI motherboard.
Finding the exact systems product page
All of our system product pages have a downloads tab with the most up-to-date custom BIOS.
To find the exact product page for your system, you want to look for your system's part number. You can find the part number on a label on the underside of your prebuilt CORSAIR system.
On the label, look for the number that starts with "CS-" and enter that number into the CORSAIR webstore search engine. This will give you the product page for your system. Make sure that the SKU on top of the product description matches your system's SKU.
After you find the system's product page, scroll down to the Downloads tab and look for the BIOS link. Click the link to download the BIOS for your system.
Updating your system BIOS
To update your system BIOS, follow the steps below:
- Prepare a blank USB drive (formatted as FAT32) and the BIOS update file
- Extract the BIOS update file into the top level of your USB drive.
- Shut down your CORSAIR gaming PC.
- Connect the USB drive with the update file into the PC.
- Start the system with the USB drive connected.
- While the PC is booting repeatedly, press the DEL (Delete) key on your keyboard to enter the BIOS menu.
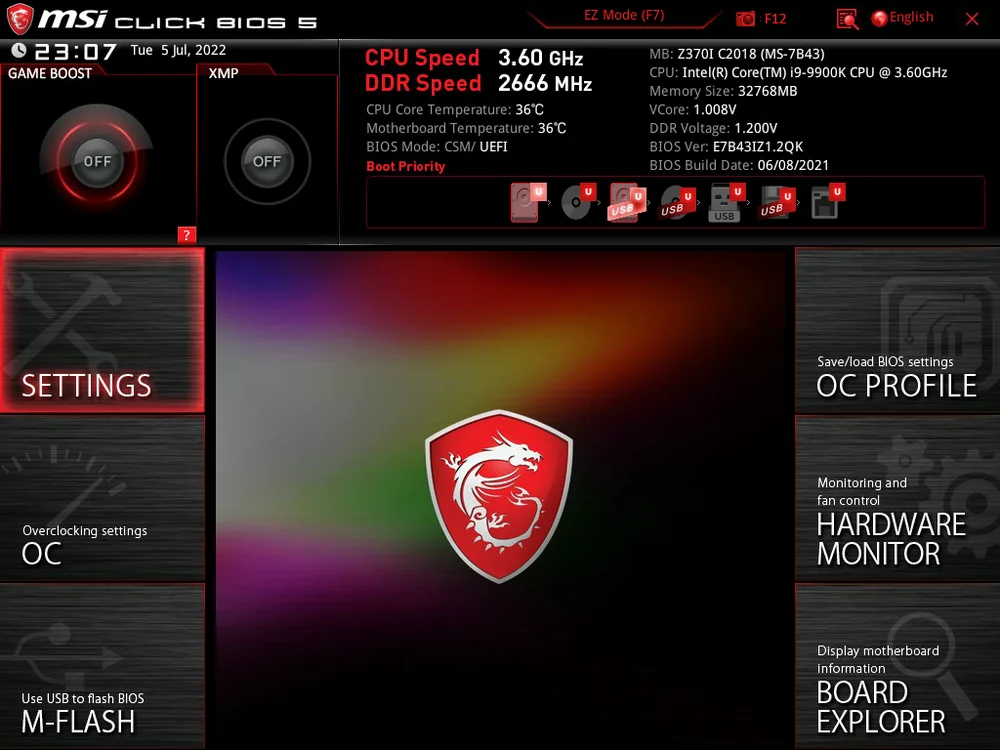
7. Press CTRL + ALT + T; this is a shortcut to open a flashing tool to update your BIOS.
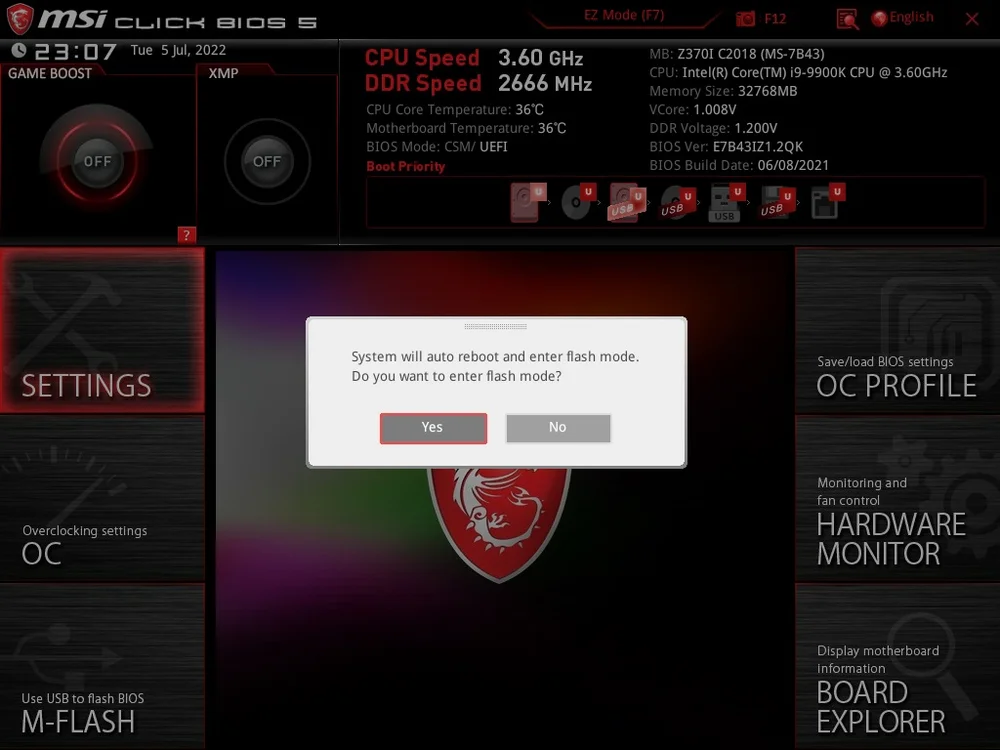
8. When asked which file you want to select from the USB drive, select the BIOS file you have downloaded and extracted into the USB drive.
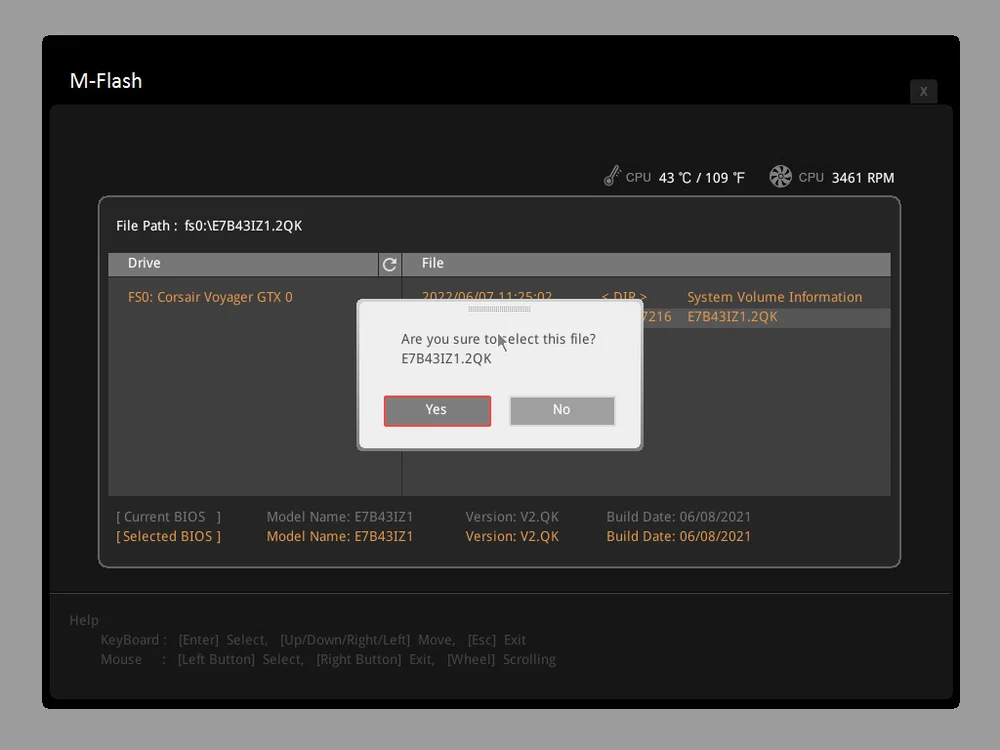
9. Wait around 5 seconds for the system to restart. The system will now flash.
10. When the update is complete, wait for your system to restart.
11. Upon restart, press the DEL key to enter the BIOS menu.
12. Press the F6 key to load the BIOS Optimized Default values.
13. Press the F10 key to save your settings.
14. Reboot your PC to complete the update.
Re-enabling overclock profile after updating BIOS
We recommend re-enabling the system's overclock profile after verifying system stability on the new BIOS revision. You can do this by following the instructions below:
- Restart your system.
- Upon restart, press the DEL key to enter the BIOS menu.
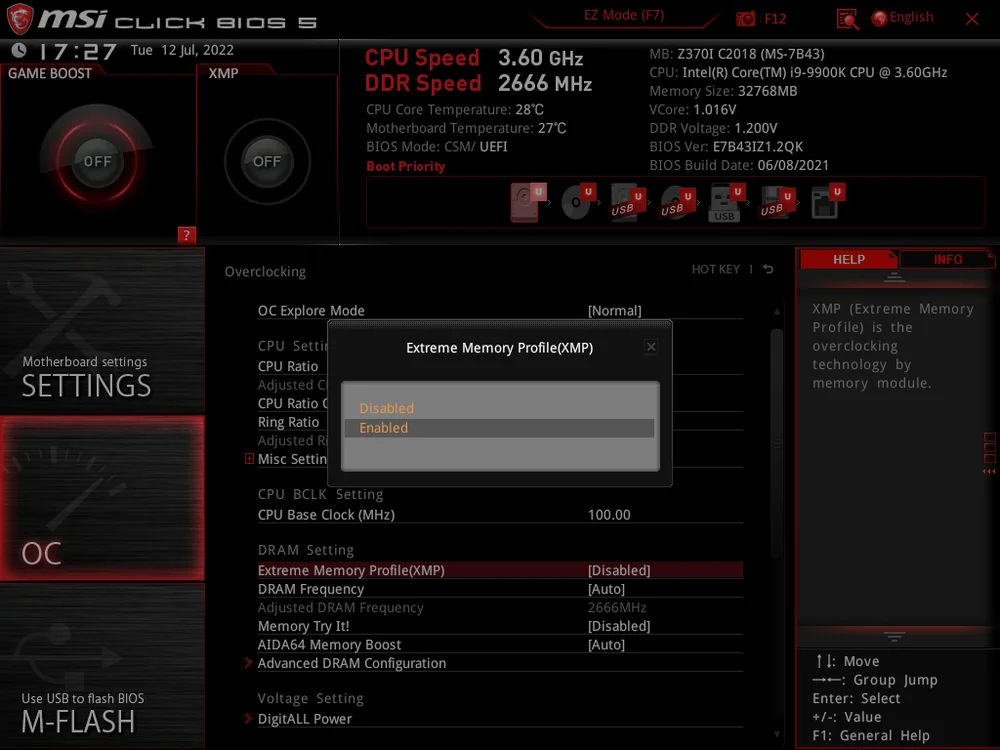
- Go to the overclocking settings in BIOS.
- Look for the Extreme Memory Profile setting; it should be called XMP or something similar.
- NOTE: For AMD systems, this setting will be called A-XMP.
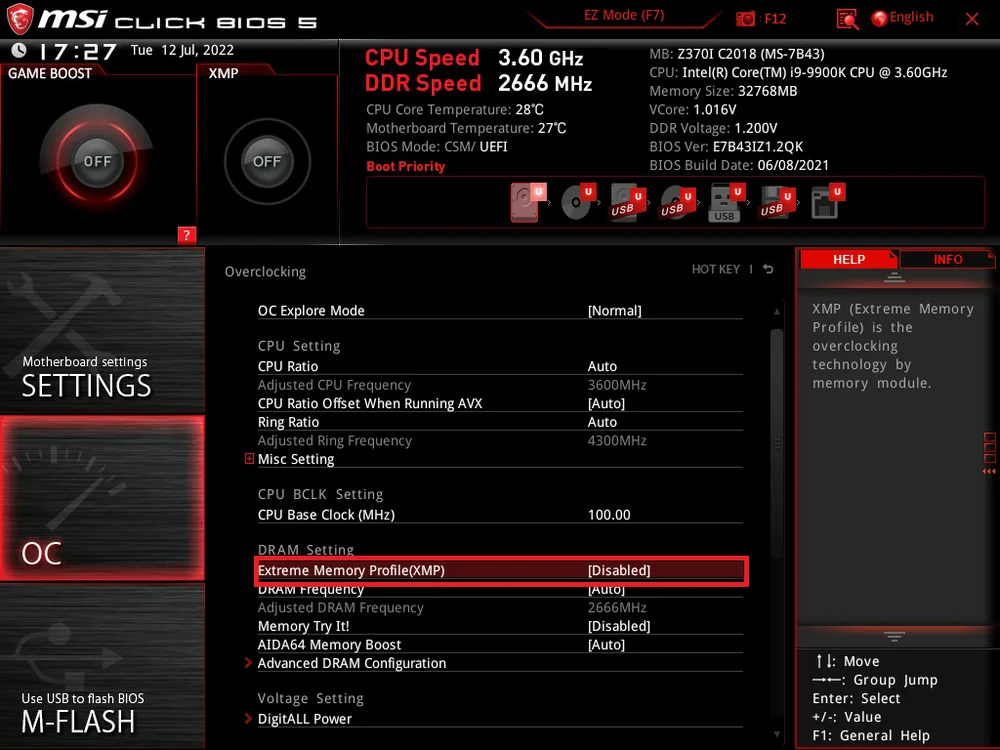
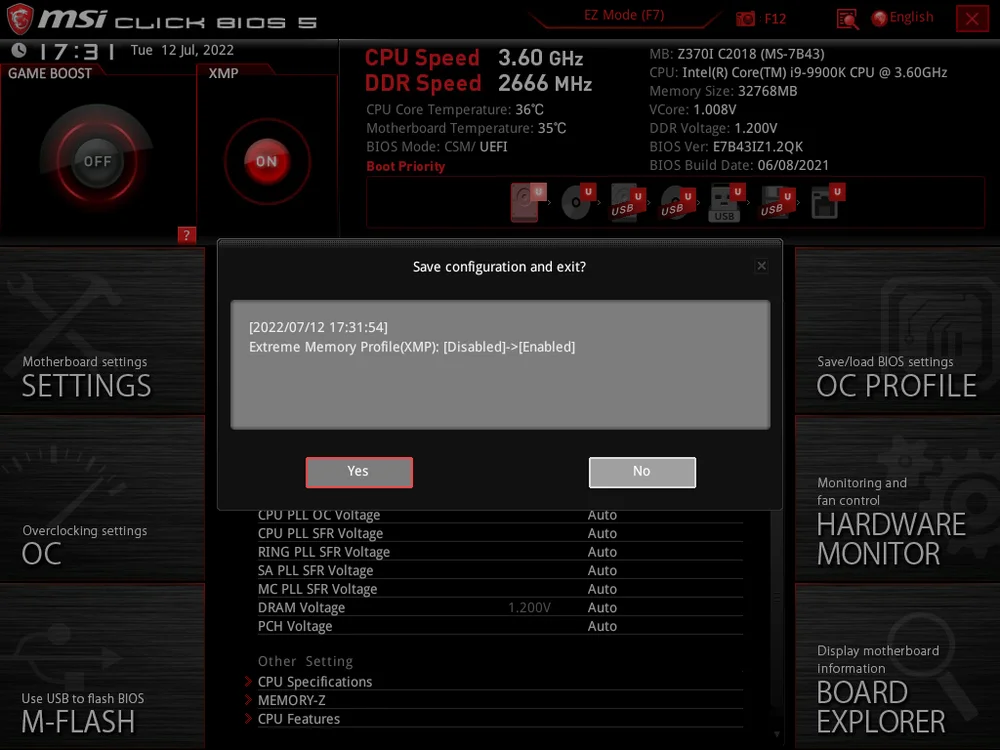
5. Enable the Extreme Memory Profile setting.
6. Save your settings and then reboot your PC.
7. Check and see if your PC is experiencing any stability issues.
JOIN OUR OFFICIAL CORSAIR COMMUNITIES
Join our official CORSAIR Communities! Whether you're new or old to PC Building, have questions about our products, or want to chat about the latest PC, tech, and gaming trends, our community is the place for you.